
When scheduling rooms you have two options.
- Give student access to the Blackboard Collaborate Ultra page. This means your students will have access to all the rooms and all the recordings. You won’t be able to restrict access for anybody on the module to any of the rooms or recordings. This option doesn’t work directly from the BB student mobile app, but it can prevent anonymous entry to the rooms. This option is setup by default in the Blackboard template
- You don’t give student access to the Blackboard Collaborate Ultra page. Instead you create individual web links to each room and recording and place those link in an appropriate place in your module. You can then restrict when and who can access rooms and recordings. This option will work on the BB student mobile app, but you can’t restrict anonymous entry to the rooms.
If you choose option 1 you can still create link to rooms and recording but if you use a link to a room you can’t restrict anonymous entry.
Each module has one “Course Room” by default (This should probably be called a module room). You can get to the room by clicking on module Tools to open the Module tools menu.

Then click on “Blackboard Collaborate Ultra” to open you Collaborate Ultra Page.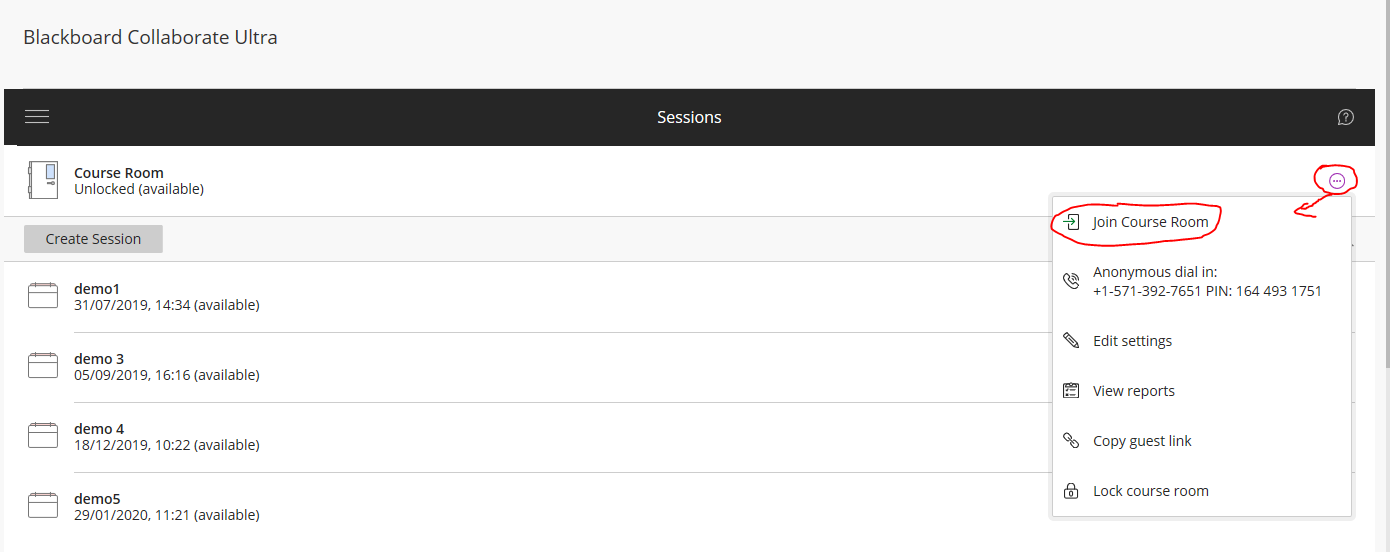
To join the default room click on circle with three dots to open the menu then click the “Join room” button.
To create a new room which you may want to do if you are using a rooms for a different purpose like private tutoring, Open webinar, or group rooms. Click on the “Create Session” button. A right menu will appear. First enter the event details.
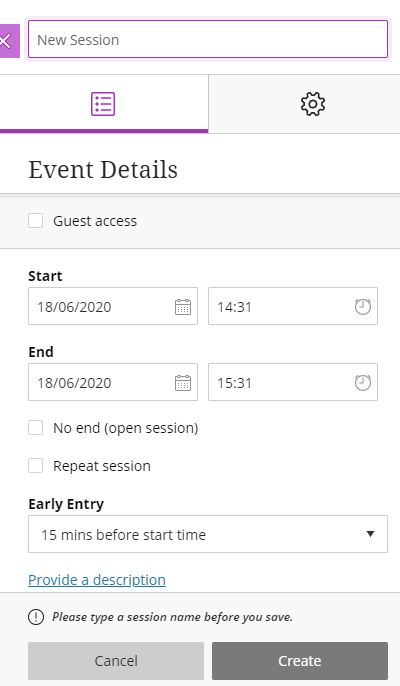
Enter a name for the Room / Session.
Enter start and end date for the session to be available.
If the session has no end date click on the “No End” option.
If you want the session to be repeated. Click on the repeat option and the repeat section will open.
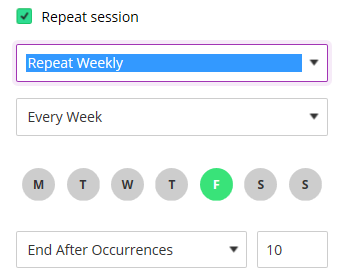
Chose Daily, Weekly or monthly.
Choose which days you want the session to be available.
Choose either the number of occurrences or an end date
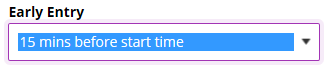
If you want to allow early access to the room choose how long before the session people can enter.
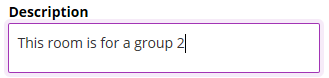
Optionally add a description for the room
After entering the event details you can also set the session setting (See below).
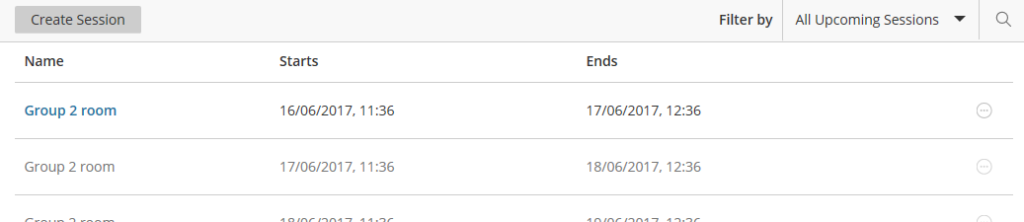
When you are happy with the event details and the session setting click “Save” or “Create”. The session will now appear in a list. If you chose to repeat the session mutual session will appear on the list.
Session setting can be set for scheduled rooms or for the course room.
To access the session setting for the course room or a schedules session click on the session options button Right in the list and choose “Edit Settings” for a single occurrence or “Edit Recurring Session” for Recurring Session. Alternatively you can set the session setting when you create the session.
The Guest access section only becomes available after a session has been Named and saved. By default guest access is turned off.

Turn on Guest access for open webinars if you are not going to give students access to the Blackboard Collaborate Ultra scheduling page. Anybody accessing a session through a guest link will be asked to enter a name on entering the room. This means you only have their word they are who they say they are.
Turn off the guest link for private tutoring session where students are accessing the room through Blackboard Collaborate ultra page using a web browser.
Guest Role sets role for all guests.
Participant gives guests the rights you set below
Presenter give guests the right to upload content and control the main screen.
Moderator gives guests the same rights as the tutor, moderators can start recording, change session setting and change user permissions.
Guest link is a web URL that can be copied and either places in a web link in Blackboard or emailed to a guest. The guest link will only be created when you click the “save” or “Create” button
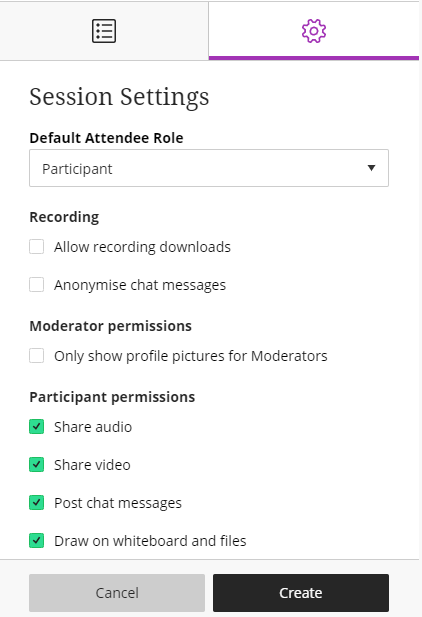
Default Participant Role sets role for all students logging in through the Collaborate ultra page.
Participant gives students the rights you set below
Presenter give students the right to upload content and control the main screen.
Moderator gives students the same rights as the tutor, moderators can start recording, change session setting and change user permissions.
For a group room you give the guests / students moderator access, for a webinar you give them participant access. For a classroom session you can choose which level of access to give them.
As a moderator you can change individuals’ permissions during a session.
Allow recording downloads makes a down load button available on the recording. If you want a recording to be downloadable by students, you have to choose this option before you make the recording. You can’t change this setting on the recording afterwards.
Anonymise chat messages remove the names of the users in the chat window in the recording. You may want to do this if you are recording a webinar for data protection reasons.
Only show profile pictures for Moderators removed the profile picture of participants. You may want to do this to stop student uploading inappropriate messages.
Share their Audio and Share their Video allows student to speak and be seen in a session. You would use these option for a collaborative session but not for a webinar with a large number of participants. If you don’t use these option you can still invite people to speak by changing their permissions during a session.
Post Chat Messages allows participants to post to the chat window. You would want this on in most cases the only exception would be for a large webinar where you weren’t inviting audience participation.
Draw on whiteboard and files gives students access to the drawing tools. You wouldn’t use this for a large webinar. It’s up to you if you want to use this for other sessions. If you don’t use these option you can still invite people to draw by changing their permissions during a session.
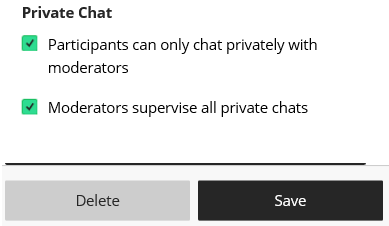
Private Chat can be enabled and as a moderator you can chose if you want access to the private chat channels.
Finally there is the Large scale session option

You have to chose this for session with more then 250 people, it increases the limit to 500 people but turning this on adds some restrictions.
- Webinar sessions can’t be longer than 24 hours in length
- Guests must be assigned the participant role
- Participant permissions are turned off
- Breakout groups aren’t available
Large scale sessions have a maximum duration of 24 hours, and you are unable to create large scale sessions for repeating, or open ended sessions. New sessions must be scheduled if you need multiple large scale sessions.
To lock a course room preventing student access, click on the round course room options button and choose “Lock Course Room” This will make the course room unavailable to everybody. You will see the Room logo now says locked.
To unlock the room just click on the course room options button again and choose “Unlock Course Room”
First you need to get the link to the room. If you are scheduling a new room/session the link won’t become available until after you have named the session. You can only get the link if the course room or scheduled session has guest access enabled.
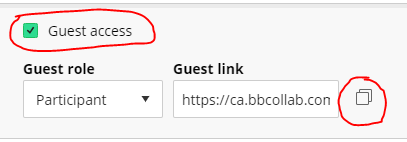
you can copy the link to your clipboard by clicking on the two squares.
Get the link
If you want the link for the course room click on the room course room options button Top centre and choose “Copy guest link”.
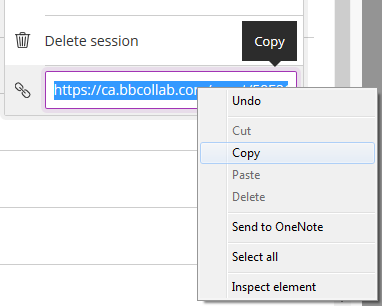
If you want the link for a scheduled session click on the session options button Right in the list and choose “Copy guest link”.

In both cases a link will appear. This will automatically copy the link to your clip board. If it doesn’t copy the link to your clip board then right clicking on the link and chose Copy from the pop up menu.
This link can be added to a Blackboard content area or emailed to someone.
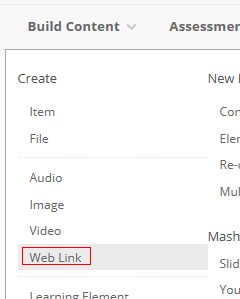
Go to the content area where you want to add the link, hover over build content and click on add web link.
Enter a name for the web link usually the room name.
Paste the link into the URL box.

You can add a description if you like and set the usual Blackboard item options.
Then click Submit.
The link to your Collaborate Room will appear at the bottom of the content area.

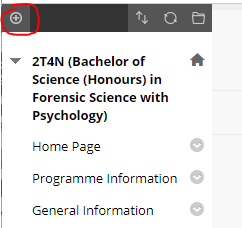
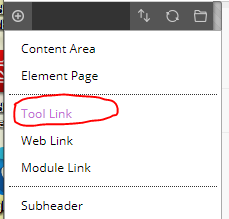
To add a link to the tool, click on the + button at the top of the left menu
Choose tool link
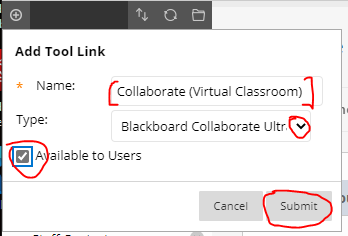
Type “Collaborate (Virtual Classroom)” in the name box, select Blackboard Collaborate Ultra from the drop-down list and check the Available to users tick box, and click the submit button.
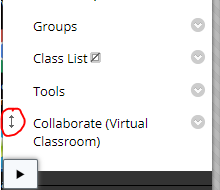
The Collaborate tool, will appear at the bottom of the menu. You can move it up the menu by hovering over it and dragging the up-down arrow.
Blackboard Collaborate in setup from within a Blackboard module or sandbox, but through use of the guest link you can invite people to a Collaborate session, who do not have access to Blackboard or the module the session is set up in.
The guest link do not require authentication to access the session so can be sent to anybody.
To find out how to get a guest link see the “Create Guest links to Rooms” section above.
It would be good to also send guidance to your guests to use the Chrome Browser to access the session. Guess links can be access through Chrome on most devices but for iPad Collaborate can only be accessed through the up-to-date version of Safari which is only on newer version of the iOS operating system.