
You can upgrade participants from viewer to presenter so they can share their screen.
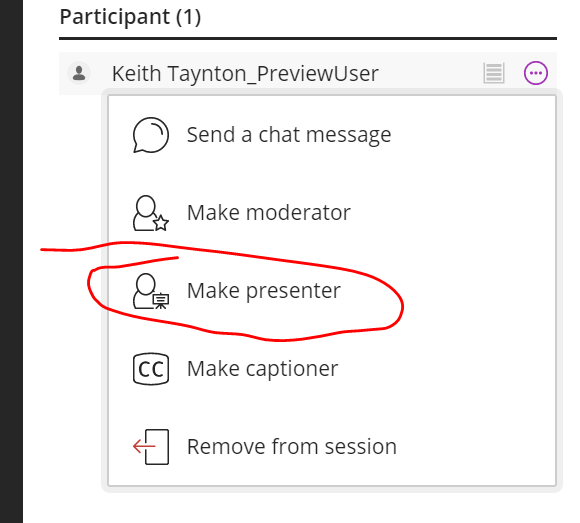
Go to Attendees
Click on the three dots next to the upgrade target user

Click make presenter (unwise: do not make them moderators)
If you want to record group presentations, viva interviews, or group discussions you can use Blackboard Collaborate within your Blackboard groups. All recordings will be visible just to tutors and students who are members of the group. Student can’t delete or edit recordings and the recordings are time stamped.
As a tutor you will be able to rename and delete a recording. You can share the link to the recording with external examiners. You will not be able to download the recording for editing or uploading to another platform.
You can use existing Blackboard groups if you have already set them up. You will just need to check you have given the groups access to the Collaborate tool and the ability to record sessions.
To make groups available to student you will have to add the groups tool to the left menu if you haven’t already done so.
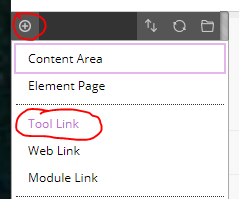
Click on the Plus (+) button and choose Tool link
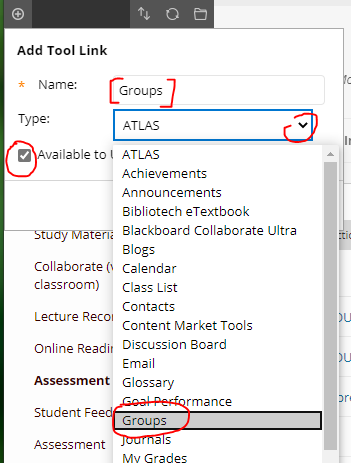
Under Name type “Groups”
Choose Available to users
Pick Groups from the drop down menu
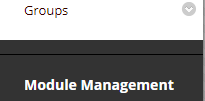
You will now have a Groups tab for student at the bottom of your left white menu.
The next thing you need to do it to set up Blackboard groups. For viva assessment you may need to setup one group for each student so that each group contains just one student.
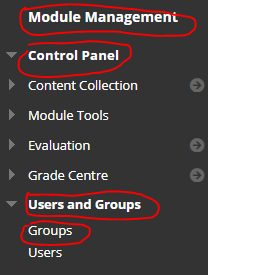
From your module page go to Module Management > Control Panel> Users and Groups > Groups
Unfortunately, there is bug in Blackboard that means if you create group sets then it will not remember to give the student the option to record Collaborate session, so it is best to create each group individually (or go back through and edit each group to give them record permissions).
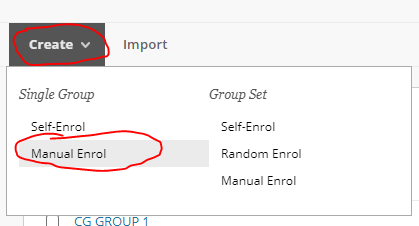
Click on the Create button and choose a Single Group > Manual Enrol
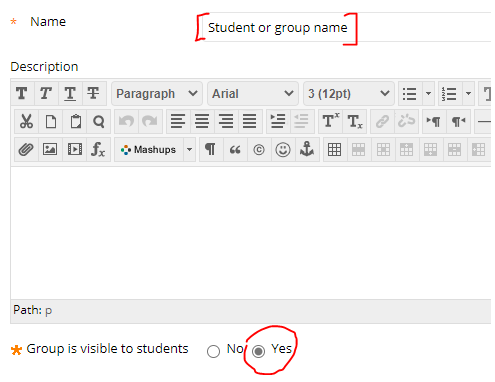
Give the group a name
Set “Group is visible to student” to Yes
Under Tool Availability, make sure Blackboard Collaborate Ultra is ticked and “Allow all group members to create and access session recording” is chosen.

This will make all the members of the groups moderators in the Collaborate room so they can start recordings.
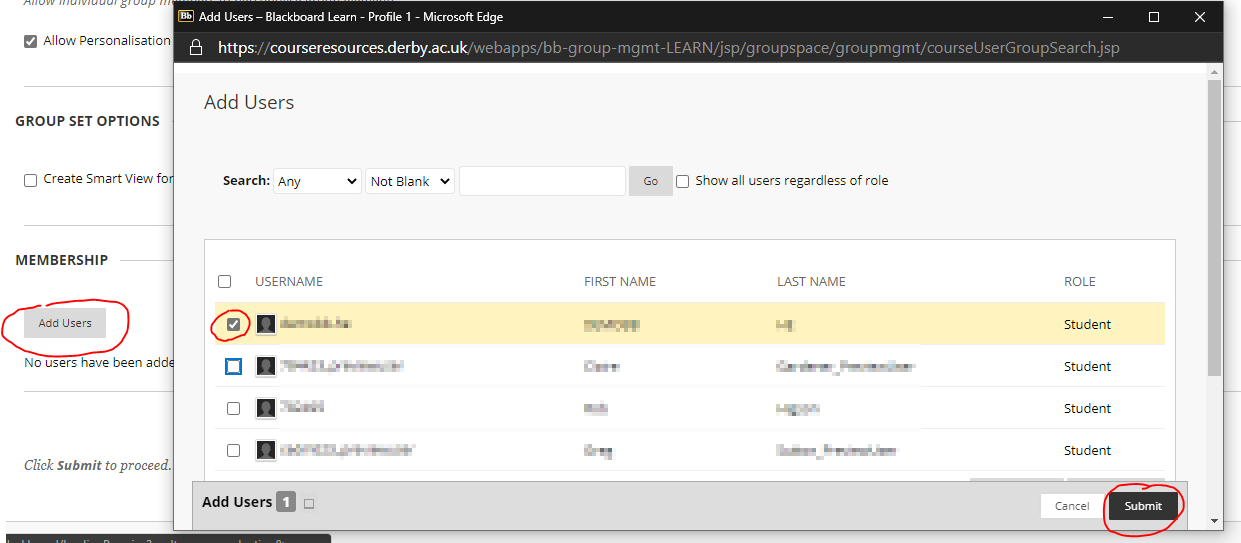
Under Membership click the Add user button
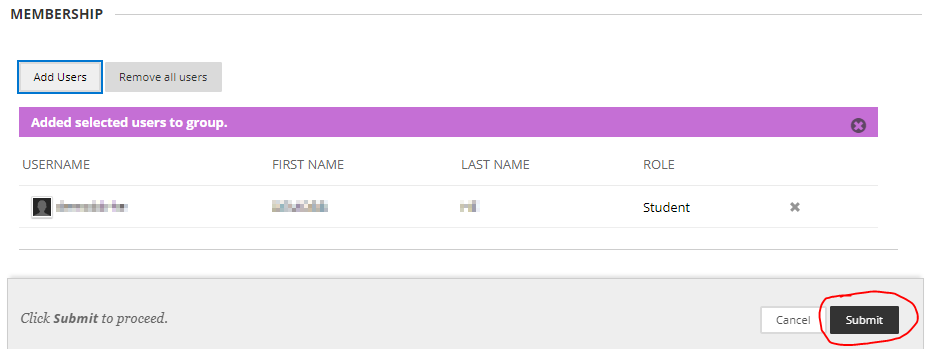
In the popup window select the users to add to this group and click submit
You will then see the names of the student you selected in the group. Click the submit button to create the group.
Repeat this for each group.
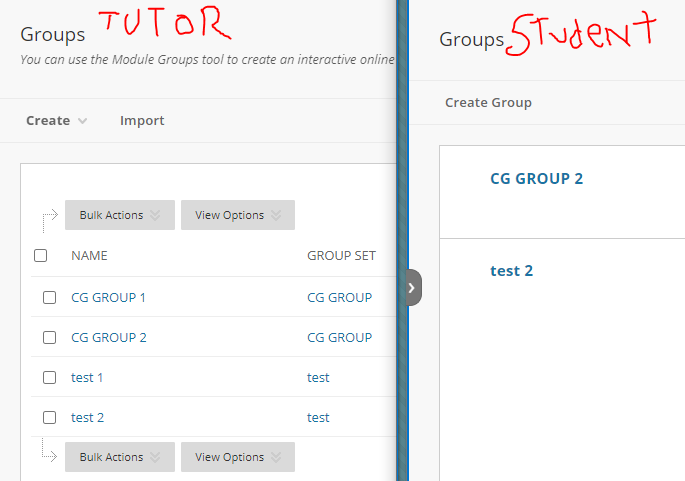
Once you have setup the groups you and your student can access the group’s Collaborate room by clicking on the groups tab in the white left menu
As a tutor you will see all the groups. As a student you will just see your groups.
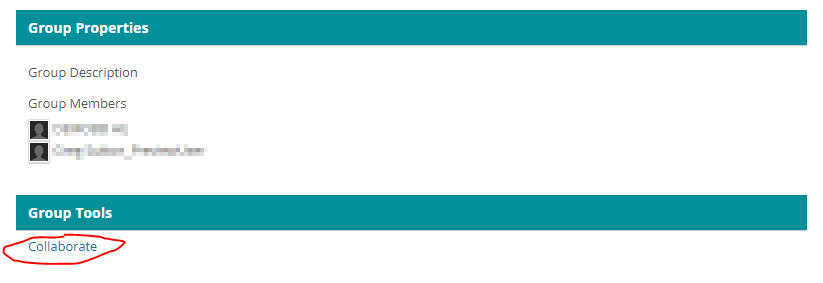
If you click on the group, you will see the group tools
Click on the Collaborate link in the group tools you will see the group’s Collaborate room
There you will see the recent recordings (last 30 days) and a link to join the room. Click on the Join Room link to enter the Collaborate room.
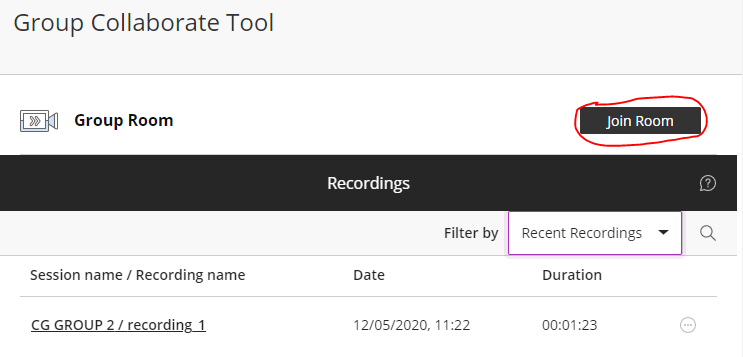
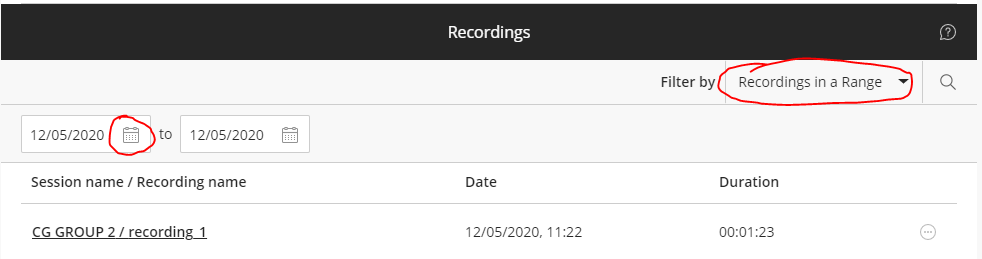
To view older recordings click on Recent recordings and change it to recording in a Range using the date picker, then select a new range.
See the these instruction on to use the Collaborate room once you are in there. All student will be moderators or presenters in group rooms so participant setting will have no effect on students.