
There are three steps to this process
A: Deploy the test and configure the options
B: Set up Respondus Lock Down Browser
C: Hide the test column in Grade Centre
A: Deploy the test and configure the options
(These instructions assume you have created a test)
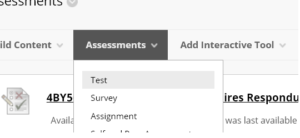
1 Navigate to the Assessment folder in the module in Course Resources
2 Hover over Assessment and click Test
3 Select the test from the list and click Submit
4 The test options appear.
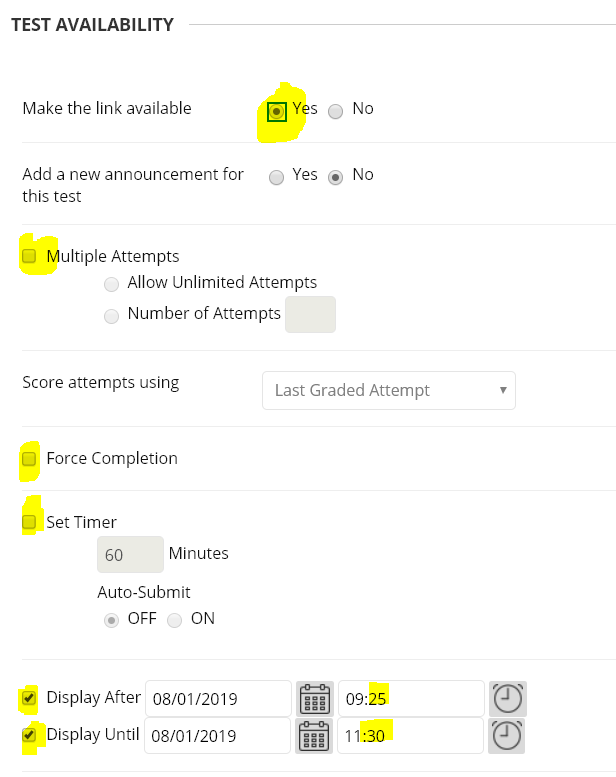
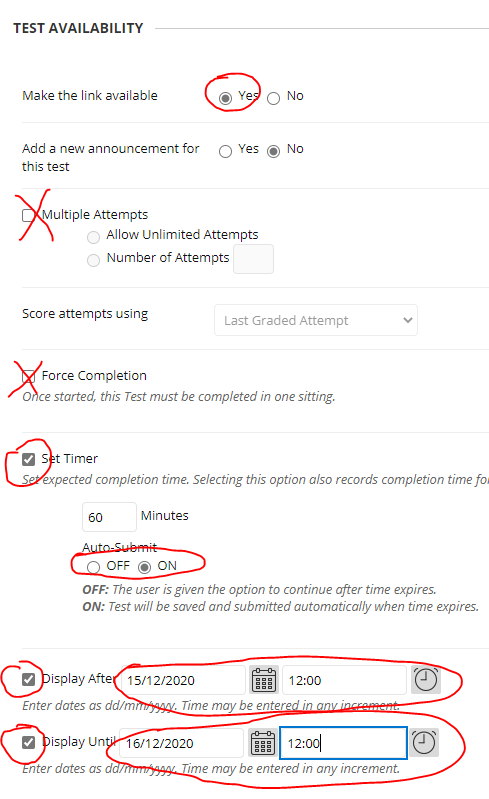
5 TEST AVAILABILITY
- Make the link available is yes
- Multiple Attempts is NOT selected
- Force Completion not set
- Set Timer not set
- Display After is set to 5 mins before the test is due to go live (date and time windows)
- Display Until is set to 60 mins after the timetabled Finish time
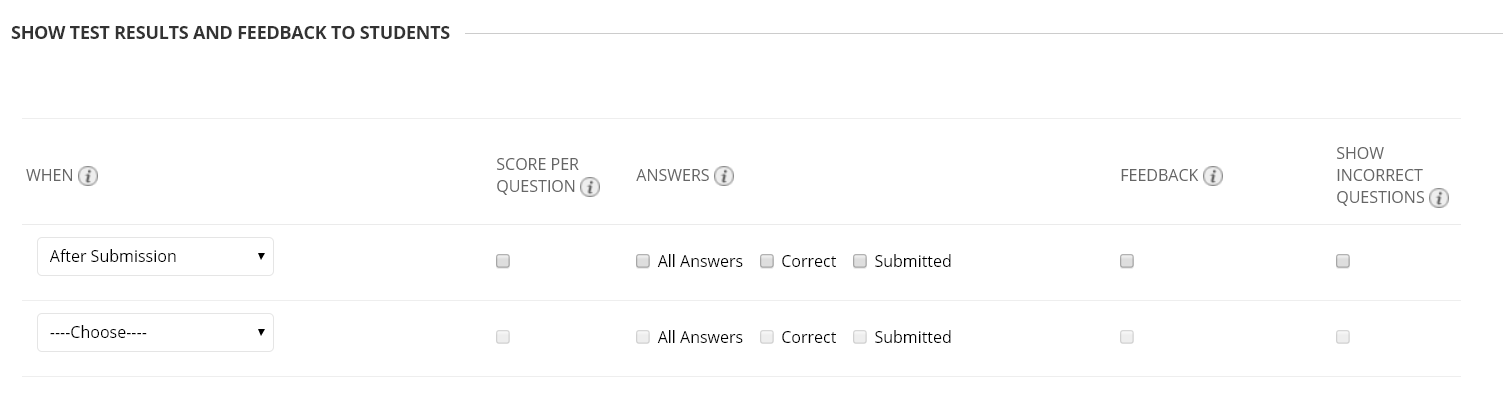
6 SHOW TEST RESULTS AND FEEDBACK TO STUDENTS
Ensure that all boxes are unticked
7 TEST PRESENTATION
- One at a Time is selected
- Prohibit Backtracking is unselected, unless specifically required (This should not be used if the questions are randomised)
- Randomise Questions is specific to an exam and will need to be checked by the CELT team if you are unsure.
8 Click on Submit
B: Set up Respondus Lock Down Browser
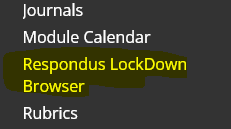
1 Navigate to Module Tools > Respondus LockDown browser
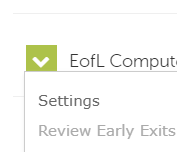
2 By the appropriate exam click the down arrow and settings
3 Click Require Respondus LockDown Browser for this exam.
4 Open Password settings and enter a password
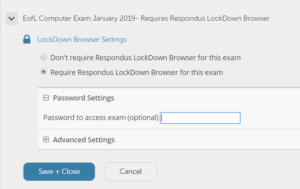
5 Click Save + Close
C: Hide the test column in Grade Centre
1 Navigate to the Grade Centre
2 Find the test’s column, click the down arrow in the header to access the options
3 Click Hide from students (On/Off)
4 A black dot with red line confirms the students cannot see the grades until you unhide the column (repeat this procedure).
There are two steps to this process
A: Deploy the test and configure the options
B: Hide the test column in Grade Centre
A: Deploy the test and configure the options
(These instructions assume you have created a test)
1 Navigate to the Assessment folder in the module in Course Resources
2 Hover over Assessment and click Test
3 Select the test from the list and click Submit
4 The test options appear.
5 TEST AVAILABILITY
- Make the link available is yes
- Multiple Attempts is NOT selected
- Force Completion NOT set
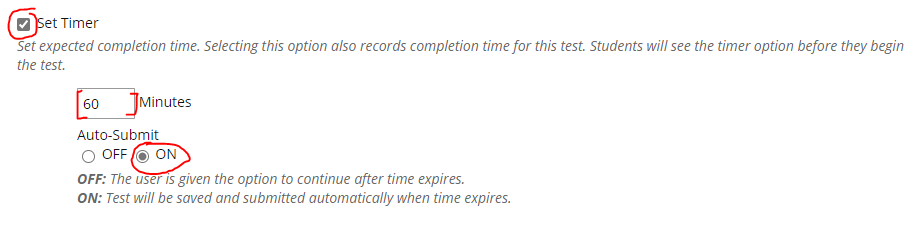
- Set Timer Ticked and the standerd time for the exam added
- Display After is set to the beguinning of the available time window
- Display Until is set to the end of the time window (The time window should be at least as long as the time it take to do the exam for the student with the longest amount of time)
Note: Student Can NOT download the images in the question after the Display Untill time, even if they have lots of time left on the timer.
Enter the time for the basic exam for students without extra time.
Turn the Auto-submit option on.
This will automatically submit the work when the time is up.
If you have student with extra time you will need to give them extra time individually to do this click the Add Users and Groups button in the Test Availability and exception section.
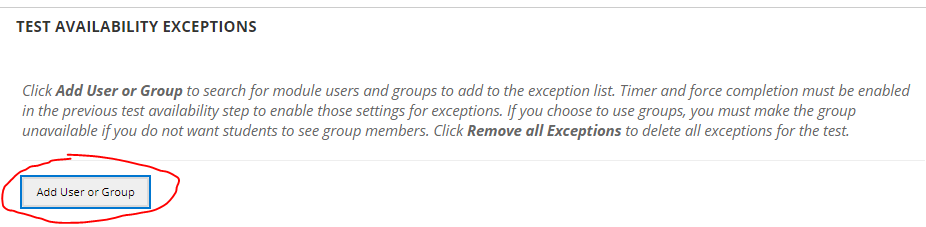
When you click on the Add Users and Groups button a Add Users and Groups page will pop up.
Select all the student that will do the test. This could be groups, individuals or a combination of groups and individuals.
To add all the students quickly click on the button next to “users and group” then deselect the groups
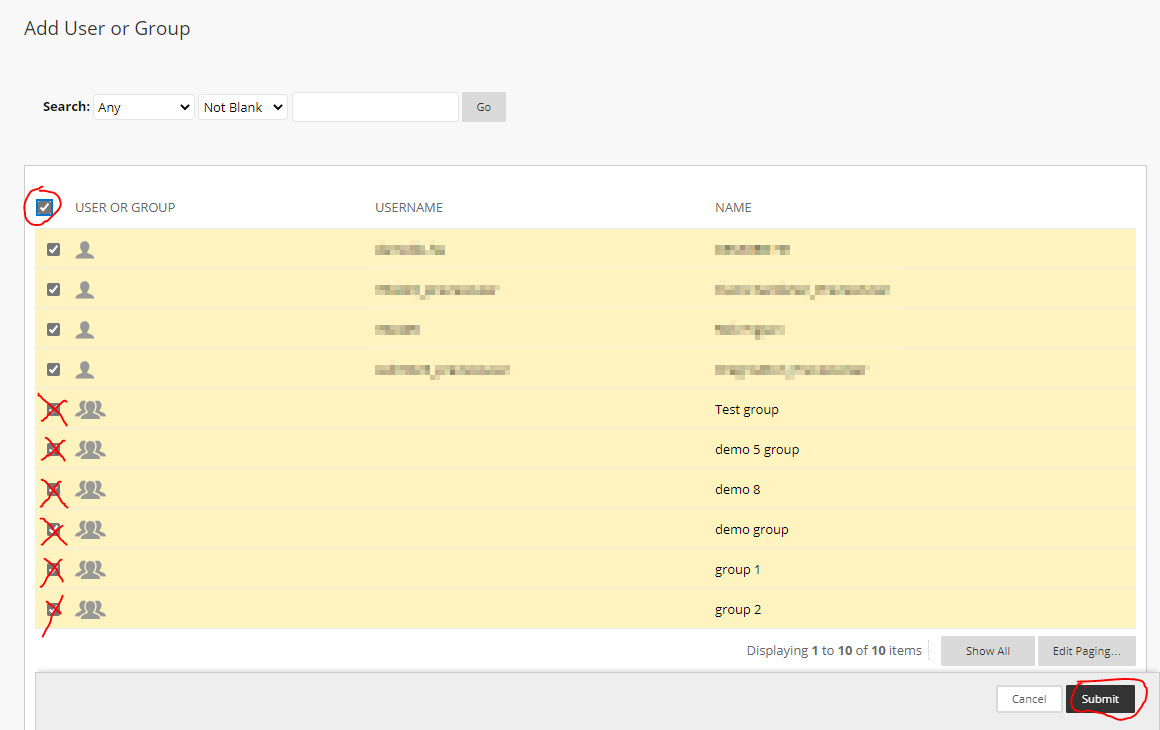
Warning. If a student is not on this list or in one of the groups, then they won’t be able to access the test.
If an individual is also in a group or two of the groups contain the same person then a warning is displayed

to fix this you will have to remove the person either from the group or from the named individuals on the test. You do have to fix it prevent students from being allocated two different exam durations.
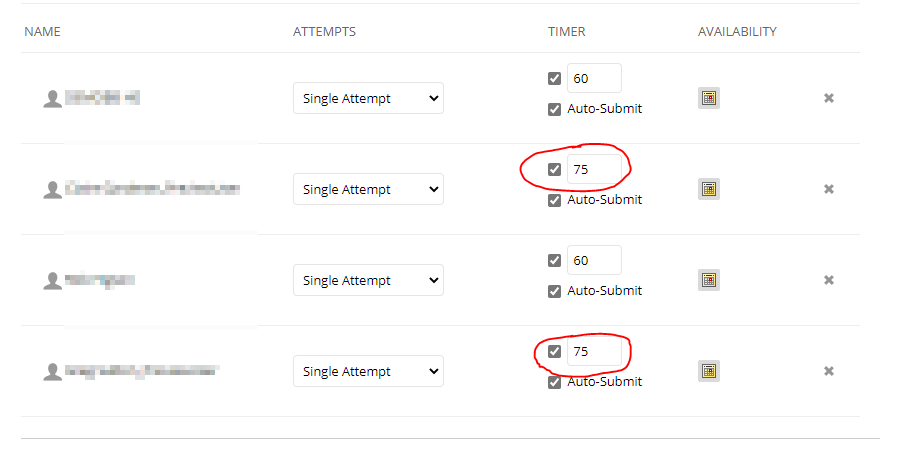
Once you have all the student attached to
the exam you can assign extra time to the student and groups that have extra time just by typing the new time into the box.
6 SHOW TEST RESULTS AND FEEDBACK TO STUDENTS
Ensure that all boxes are unticked in the After Submission row
7 TEST PRESENTATION
- One at a Time is selected
- Prohibit Backtracking is unselected, unless specifically required (This should not be used if the questions are randomised)
- Randomise Questions is specific to an exam and will need to be checked by the CELT team if you are unsure.
8 Click on Submit
B: Hide the test column in Grade Centre
1 Navigate to the Grade Centre
2 Find the test’s column, click the down arrow in the header to access the options
3 Click Hide from students (On/Off)
4 A black dot with red line confirms the students cannot see the grades until you unhide the column (repeat this procedure).