
PebblePad can be used to create blogs.
To create a blog:
- Log into Pebble+.
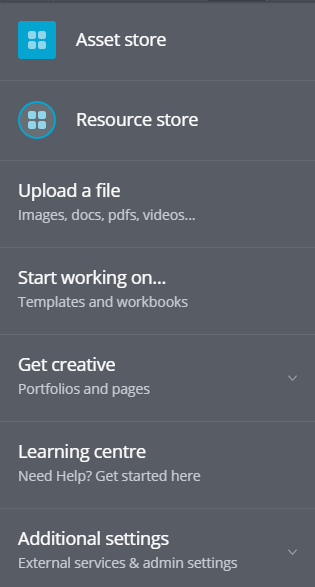
- On any page, click the ‘burger menu’ on the top left of the screen

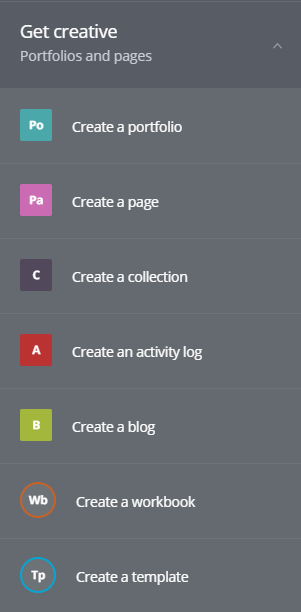
- Click on ‘Get Creative’
- Click on ‘Create a blog’
The Edit Blog page will appear
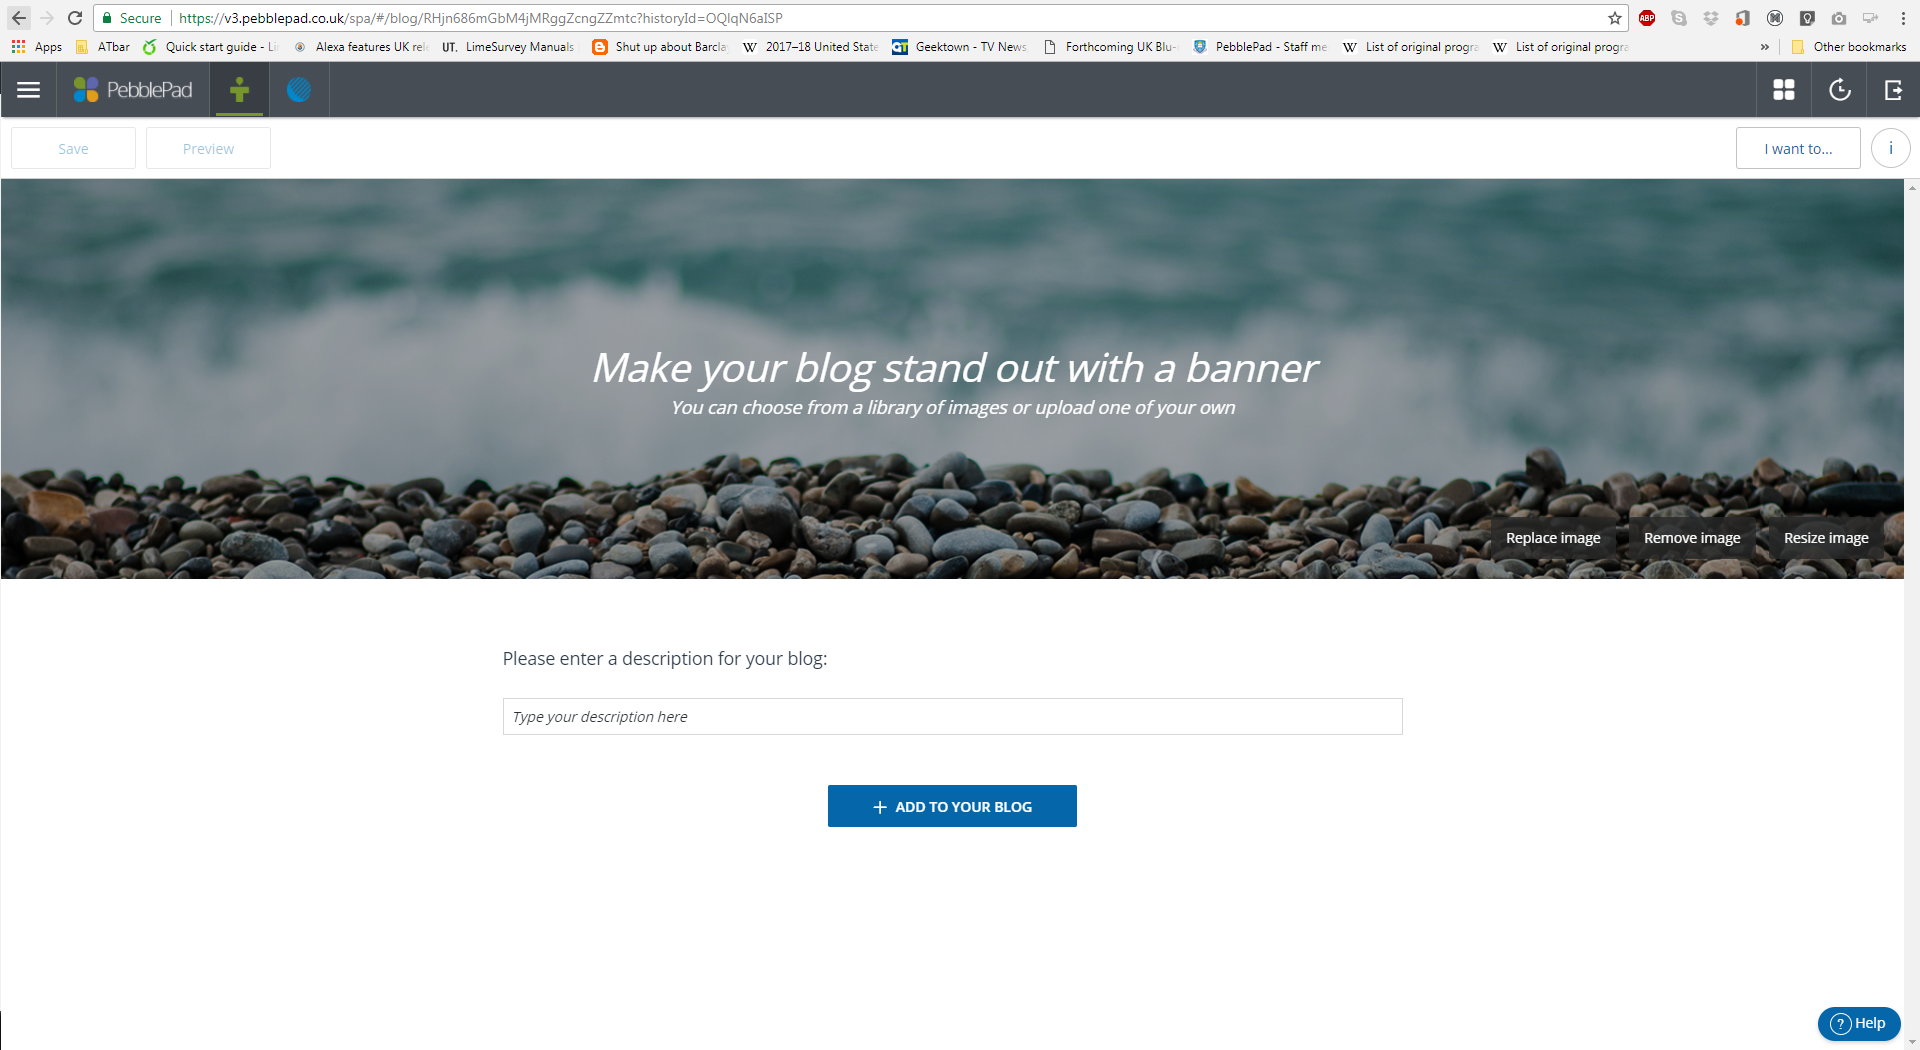
Click on the text in the banner to add your own title and subtitle to your Blog.
To change the banner image, click on ‘Replace Image’, and select either one of the preset image gallery or your own image from your Asset Store or hard-drive.
Then enter a short description for your Blog, which will appear above your blog posts.
To add blog posts, click ‘Add to Your Blog’. This gives you three options:
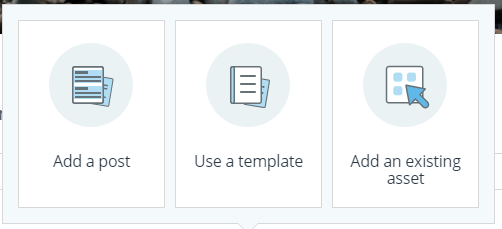
- Add a post – This creates a blank blog post, with fields for a title and post. Other elements such as images and video can be added by clicking ‘Add Content’ When finished, click ‘Save’, and ‘Back to blog’ at the top left of the screen.
- Use a Template – Uses a Template from your Resource Store as the basis of your blog post. Select the Template you wish to use from the list. When finished, click ‘Save’, and ‘Back to blog’ at the top left of the screen.
- Use an existing asset – Use any existing Asset from your Asset Store as a blog post. Select the chosen Asset(s) from the list, and click ‘Done’.
New posts can be made at any time in the same way.
To access your Blog, visit your Asset Store by:
- From the dashboard, click on ‘Assets’ on the top left panel.
Or:
- From any page, click the ‘burger’ menu in the top left of the screen
- Select ‘Asset Store’.

- To view or edit the blog click on it in the list.