
Turnitin Feedback Studio is the name given to the interface where you can view and mark a student submission as well as examine the Originality report.
For further information click to expand the links below:
To start grading first you need to go to the module in blackboard and then click on module tools in the left menu
And then Turnitin assignments
You will then be in the Turnitin Assignment page
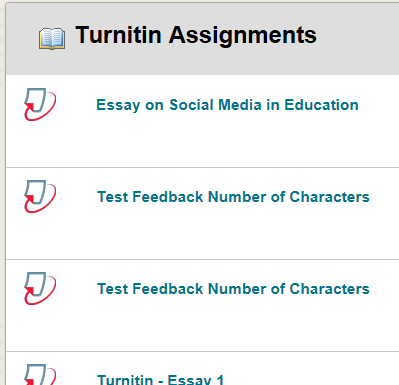
This will open the list of assignments for that module. Click on the assignment you wish to mark and you will see a list of student submissions.

From the l ist of student submissions you can see:
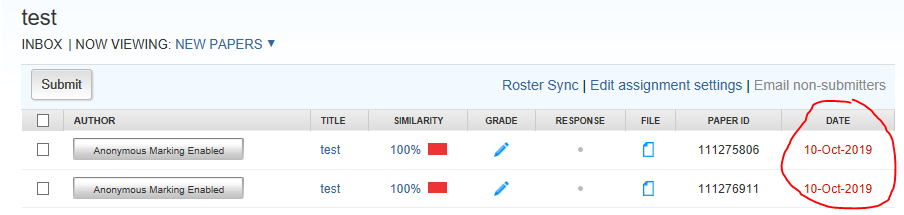
- Late submission, with the dates highlighted in red
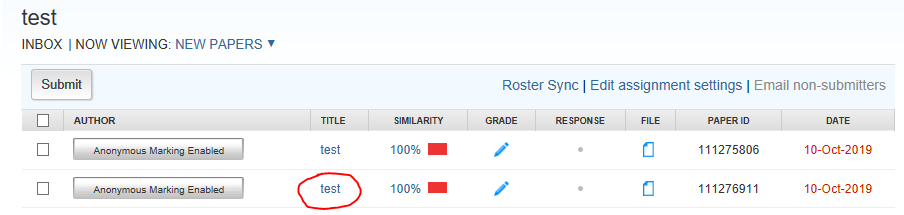
- None submission, with nothing in the title column.
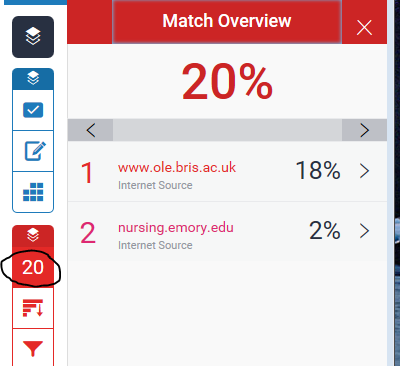
- Paper with worrying similarity reports, with red boxes in the Similarity column.
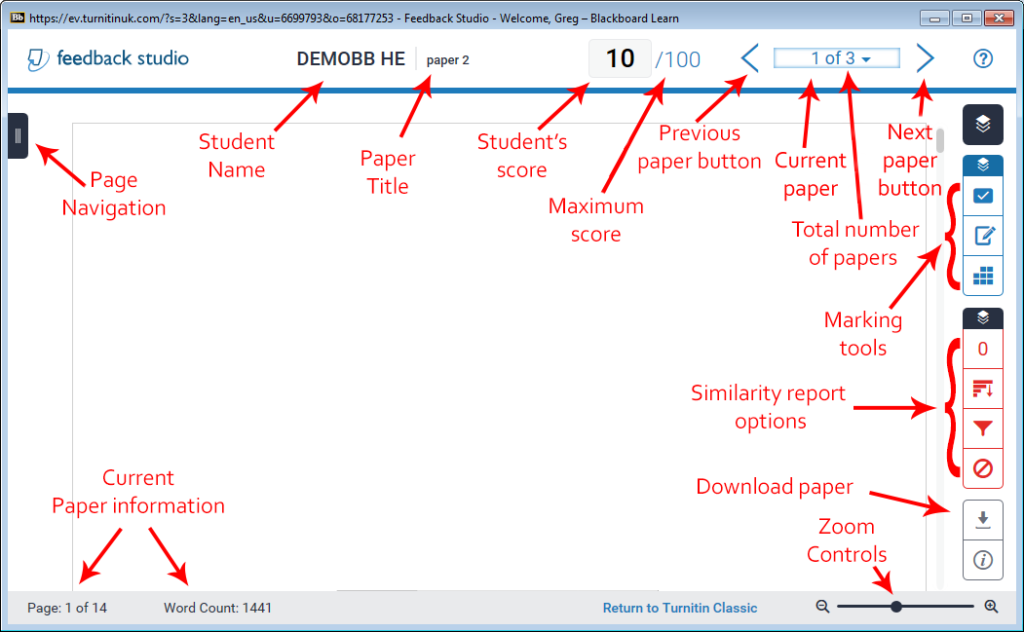
Click on the title of the paper to open feedback studio.
Click on the layers button to open the Active layers panel.
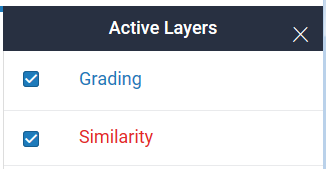
There are two layers of data that can appear over the top if the student’s paper. There is the grading layer this contains all the tutor comments and feedback, there is also the Similarity layer which contains similarity information. You will probably want to turn both layers on during marking.

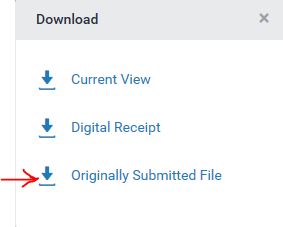
To download a submitted paper, open the paper as described in the section for Grading Turnitin Assignments with feedback studio above, and click on the downward facing arrow at the bottom of the Turnitin Feedback Studio layers on the right hand side. In the pop up window, click on “Originally Submitted File” and then Open or Save the document in a location you will remember.
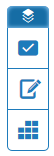
- The top button turns the instructor’s feedback layer on and off
- The tick button opens the QuickMarks panel
- The pen button opens the Feedback summary panel
- The rubric button opens the Rubric panel see “Using Turnitin Rubrics to Grade” for more info about rubrics
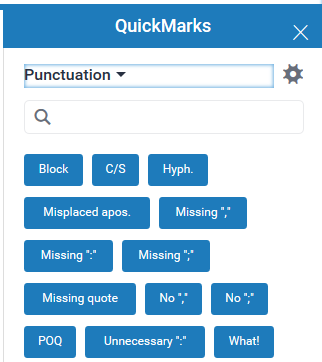
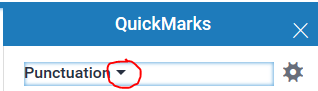
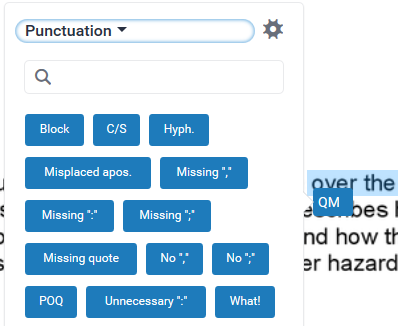
QuickMarks are used to quickly mark your students work. The Quickmarks panel shows a set of QuickMarks each one is prewritten response to common mistakes. You can add more QuickMarks as you are marking and you can have multiple sets of QuickMarks for different paper type. You can swap between sets by clicking on the dropdown arrow next to the set name.
This will bring up a menu of all the available sets
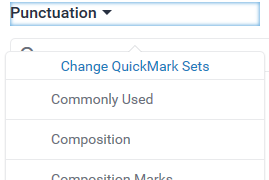
Click on the set you want to use.
Click on the Manage QuickMarks button to open QuickMark Manager where you can create new quickmark sets, edit existing set, copy QuickMarks between sets, export sets and import sets.
Note: you can only export sets you created yourself. You can’t export preexisting sets even if you have modified them.
As well as being able to add QuickMark to your students work you can also add comments to text, strike out text and add inline text.
Quickmarks, comments and inline text can all be moved around by dragging them.
Adding QuickMarks
There are two ways to add a quick mark to your students work:
- Drag the comment form the QuickMarks panel on to the students work.
- Highlight the piece of text or click on the location you want the mark to appear, and a menu will popup
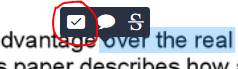
Click on the QuickMark icon and a QuickMark window will appear
Click on the QuickMark you want to add and the QuickMark will appear on the paper
You then have the option to add more text comments and link it to a rubric if there is one in use. There is also a color tab where you can chose the color of the highlighting for the text.
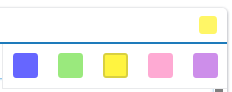
Click on the color in the top left of the window and a color swatch will appear. Click on the color you want to use to highlight the text.
Note: you can no longer add a quick mark by highlighting text and clicking on the QuickMark in the QuickMark panel, this may get reinstated.
Adding a comment to text
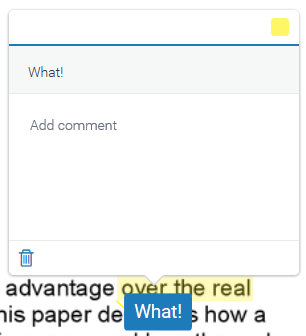
To add a comment to text highlight the piece of text and a menu will popup

Click on the comment icon and a comment box will appear
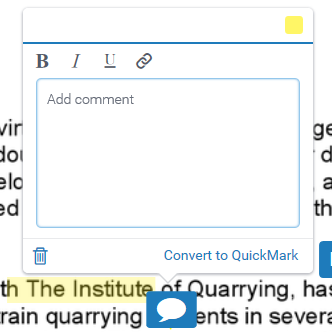
Enter your comment, you can link it to a rubric if there is one in use. There is also a color tab where you can chose the color of the highlighting for the text
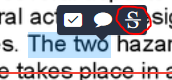
Sticking through text
To strike through text in your students’ work, select the text and clicking on the strike icon when the menu appears.
Adding inline text
To add inline text click on the paper where you want to add the text and the menu will appear.
![]()
Click on the Inline text icon in the menu. A text box will appear
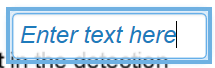
Just enter some text and click somewhere outside the box. You can then drag the text box for fine adjustment.
The pen button opens the Feedback summary panel
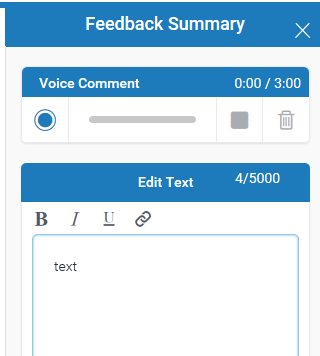
Here you can add audio and text feedback
Type your text feedback into the text box up to 5000 charters.
If left for a while turnitin will expire your session and you will have to log back in. If you are writing a particularly long comment, and know you are about to take a break, navigate outside of the comment box to ensure that it saves.
When a session is expired, all unsaved work is lost. Saving should happens automatically when input from the user is detect . However, in some cases, it’s possible that the sync didn’t happen because the rest of the page wasn’t interacted with.
To add audio feedback click on the record button to start recording.
The first time you start a recording you may get a flash popup window
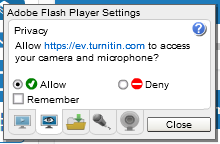
Click on Allow and Close.
While you are recording the record button will change to a pause button and the bar will bounce from left to right to show change in volume level
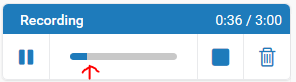
You can pause the recording at any time by clicking on the pause button. Just click on the record button to continue recording.
If you are not happy with the recording click on the Bin button to start again.
When you have finished click on the stop button to end the recording. The record button will turn into a play button.

Click on the play button to hear back the recording if you are happy click the save button to upload the recoding, or click on the Bin button to start again.
You can record up to three minutes of audio feedback per paper.
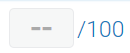
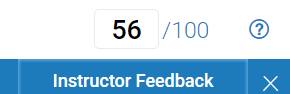
Once you have finished marking the paper you have to add the grade. You do this by simply typing the score into the grade box at the top of the page.
If you used a rubric there may be an automatically generated score in the box from the rubric. You can override this score.
If the paper is showing a score out of zero this is because you haven’t set a points value for the paper. Not setting a point value may prevent you from giving the paper a score.
To edit points value for the assignment, you have to edit the assignment setting see edit assignment setting
The paper information contains: the submission id, the date the paper was processed, the word count, the character count, the number of submissions to the assignment. The Similarity Indices will only be displayed if the instructor has allowed students to view Originality Reports for the assignment.
Feedback added to a student submission appear in the body of the paper. The types of feedback that an instructor can make on a student submission is a combination of any of the following:
- comments – a comment is equivalent to the note an instructor would write in the margins of a paper
- QuickMark(SM) – QuickMark comments may be used by an instructor to easily place notice of a complex or frequently used grammar, punctuation, or formatting issue
- a rubric – the rubric scorecard button located at the top of the sidebar allows a student to view any rubric scorecard information added to the paper by the tutor
- general comments – a general text and/or voice comment can be added to a paper by the tutor to include a longer statement or overall review and assessment in greater depth without reference to specific areas of the paper
- crossing out – tutors can select text and strike through it to denote it as unnecessary or incorrect.
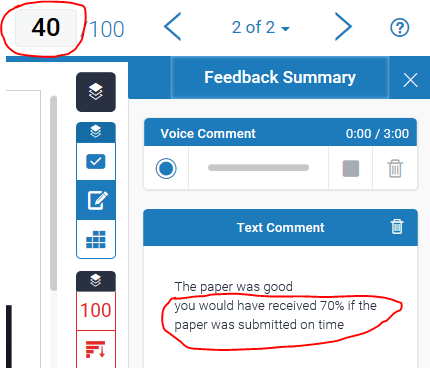
The paper’s grade is displayed in the top right corner of the feedback studio viewer.
If students are allowed to view the Originality Report for the assignment the Similarity Index will be displayed in the top of the similarity bar. by click on this you can open the full similarity report.
Note: These grades are provisional and subject to change during the moderation process.
Note: The grade shown may not match the value calculated form a rubric as tutors have authority to manually adjust calculated values.
On the Turnitin marking page there is no indication that a submission was submitted late unless you manually compare the submission date with the due date.
When marking Trunitin assignments to check for late submissions go to the assignment in inbox and look at the date, late submissions will be highlighted in red.
You will need to check if the submission is more than 7 days late. If you set the time for the due date to 11:59pm according to the e-submission policy, you can just go by the date. If you set it to any other time of day you may also need to check the time of the submission. To do this you will have to open the paper by clicking on the title of the paper.
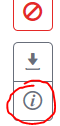
Then click on the info button at the bottom right of the marking Paine.

A popup info window will appear and the precise time of the submission is the second on the list.
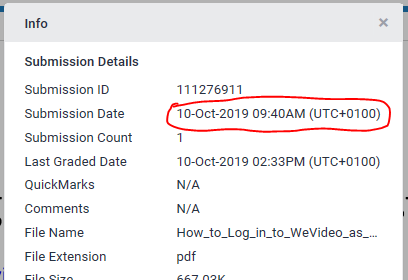
UTC (Universal Time Coordinated) time is the same as GMT (Greenwich Mean Time)
UCT + 0100 is the same as BST (British Summer Time).
If the submission is less than 7 days late, you will market in normally and include in the feedback what score they would have received if it was not late and cap the score for the paper at 40% for undergraduate and 50% for postgraduate students if they received a passing grade.
If the submission of more than 7 days late you don’t need to mark it and the score should be left blank.
Resources
Click to view an online interactive demonstration of the Turnitin Feedback Studio