What is WordPress?
WordPress started out as a blogging platform, but has evolved to support fully functional websites and mobile applications. There are thousands of prebuilt themes and plugins to choose from, which make it easy to create a site.
Why would I use WordPress with my students?
WordPress is industry standard software and it is an easy system for students to curate and share content both internally and also externally. There are two ways you can use WordPress at the University
- Use a free WordPress account via the WordPress website. This option is preferable for individual blogs, portfolios and websites.
- Via the dedicated university WordPress server. (wp.derby.ac.uk) Sites and accounts can be requested via the TEL team. This is generally only used for staff led projects, and not for individual students to use. Contact tel@derby.ac.uk for more information.
How do I use WordPress with my students?
- Create a collaborative website, to share programme created artefacts with the university and employers
- Create individual or group blog.
- A personal ePortfolio.
- Create a news site or gallery.
- Collaborate with externals, for example staff and students from other Universities/organisations or employers.
Note: WordPress is listed on the University Software Whitelist which provides recommendations based on these products meeting internal and external governance requirements such as Data Protection, Freedom of Information and Information Security.
TEL Recommended themes
Blog – Penscratch, Twenty sixteen
Website – Shoreditch, Nisarg, Wisteria
Portfolio – Dara
Case Study / Good Practice
- Spend some time getting to grips with the WordPress concepts and terminology.
- If your students are setting up individual WordPress sites, then encourage them all to start by using a simple standard theme like Penscratch for a blog.
- If the WordPress site forms part of an assessment, make sure you guide the students on privacy, user and feedback settings.
For more information on setting up a WordPress.com site click the links below:
- Go to WordPress.com
- Click on Start a Blog
- Click on Get Started
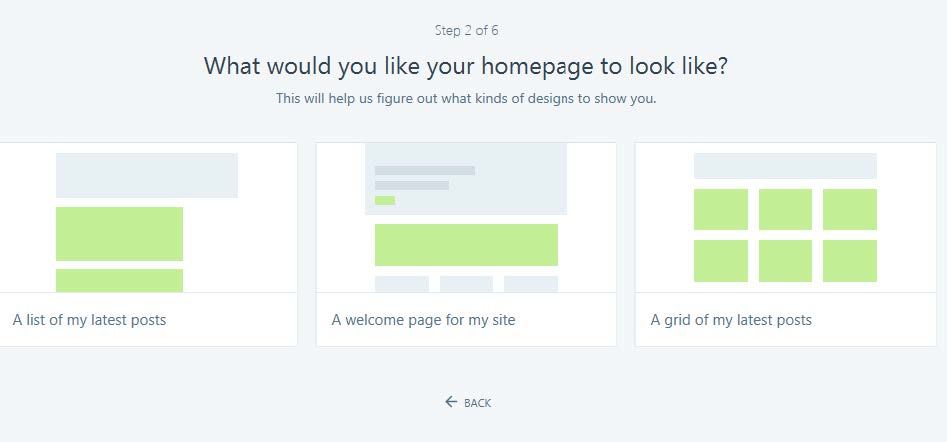
- You then get a 6 step, wizard to complete
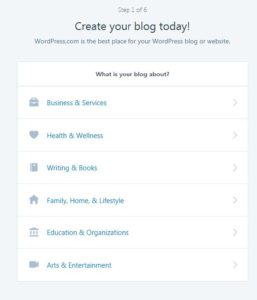
- Choose Education & Organizations then
- Under how do you want the page to look, choose “A list of my latest posts”
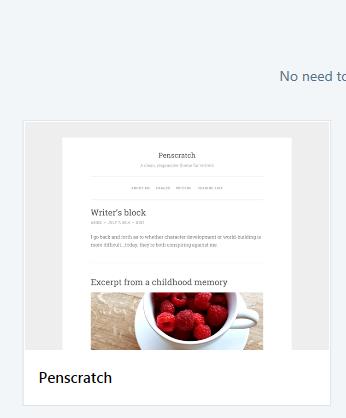
- Now you select a theme, choose Penscratch, (Please note, this is the easiest to get started with and can be changed at a later date.)
- Now choose a domain name. This is the url or web address for the site.
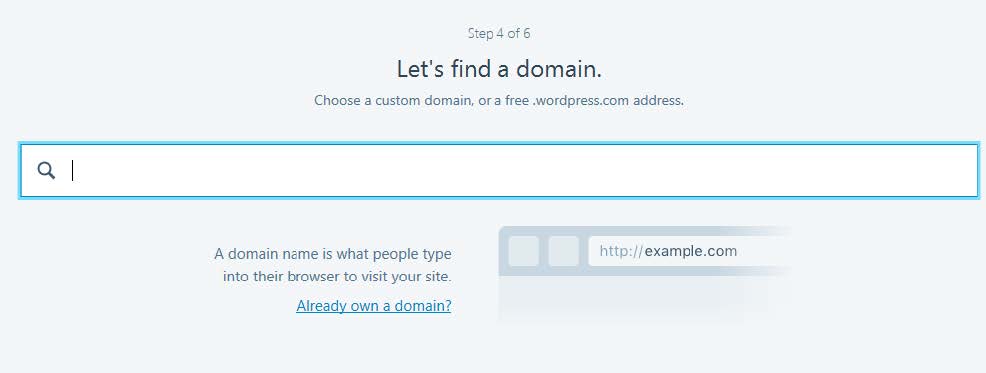
As this is part of your course, it would be useful to use your name, course etc. As you type, it will suggest free available options. - Select the domain name you wish to use.
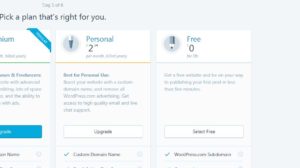
- The next step, is to choose your plan. Select the Free option
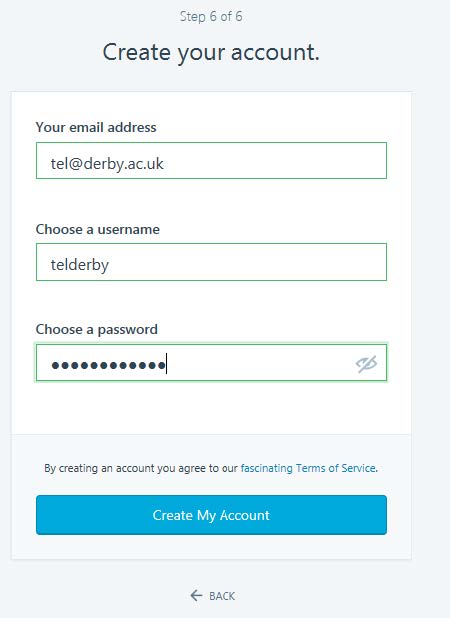
- Finally create your account.
Your user name is personal to you, as is your password; although the site generates advice and it is VERY important not to lose these details at this stage.
- You should now get your blank site
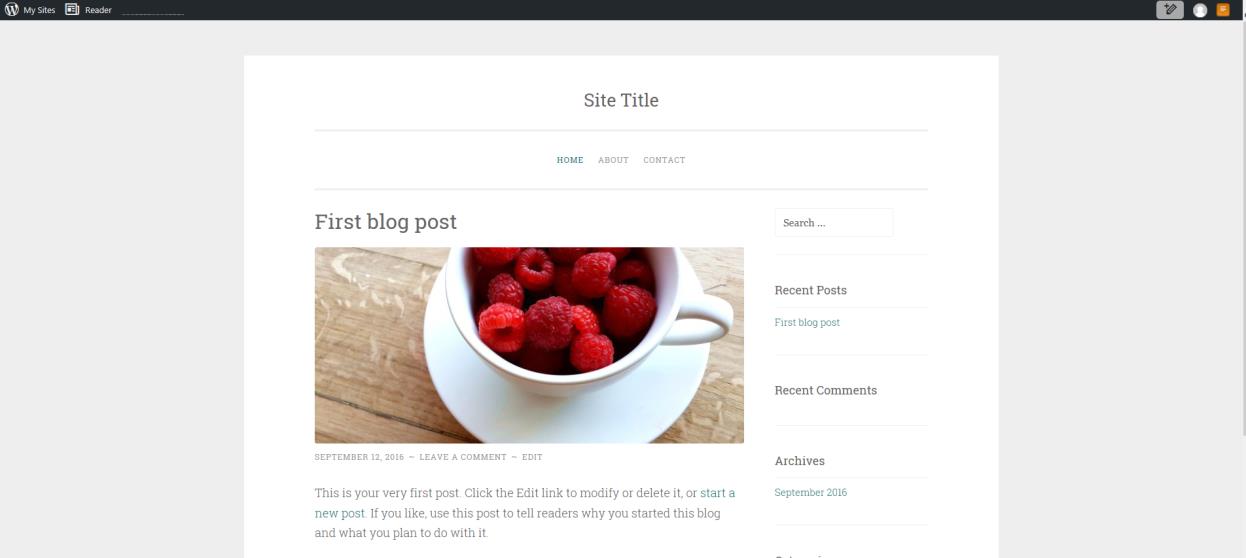
- that it was you requesting a WordPress account, so go to your email and click the confirm button.
When starting out with Blog posts, it is easier to customise the sample post provided, to do this.
- Select My Site and click on Blog Post (not add for the first time)
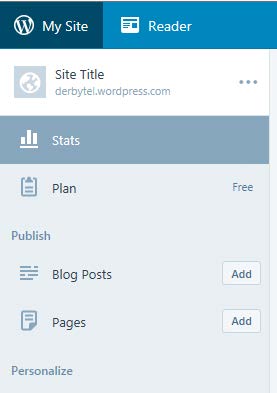
- An easy place to start is to customise the first template blog post provided, click on Edit

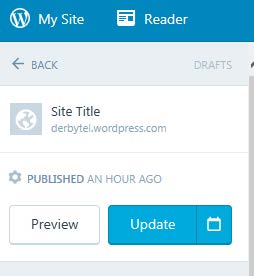
- Edit the post as appropriate, once finished making changes, click on either Preview or Edit, in the left My Site menu. Preview you will allow you to see what your site will look like, before publishing online (Update).
To add more blog posts, return to the My Site menu, and choose Add next to Blog Posts.
Pages contain static information, and traditionally contain information about a site. The easiest place to start with menus is to customise those included in the template.
- Click on My Site and choose Pages. The list of pages appears in the middle of screen, click on the ‘3 dots’ icon next to About and choose Edit.
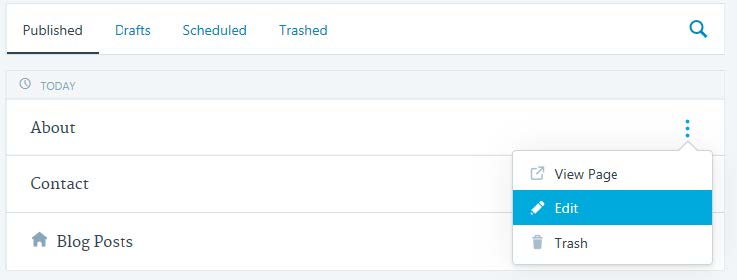
- Make the necessary changes and choose either Preview or Update in the My Site menu. Update will publish the changes on your site.
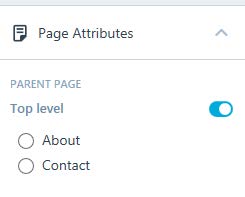
To add more pages, return to the My Site menu, and choose Add next to Pages. Before you click Update to save the page, review the Page Attributes to determine, where on your Menu, the new page will be located.
The staff on your course, may request access to your blog, to do this
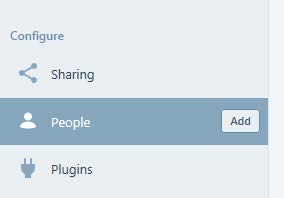
- From the My Site menu, choose Add next to People.
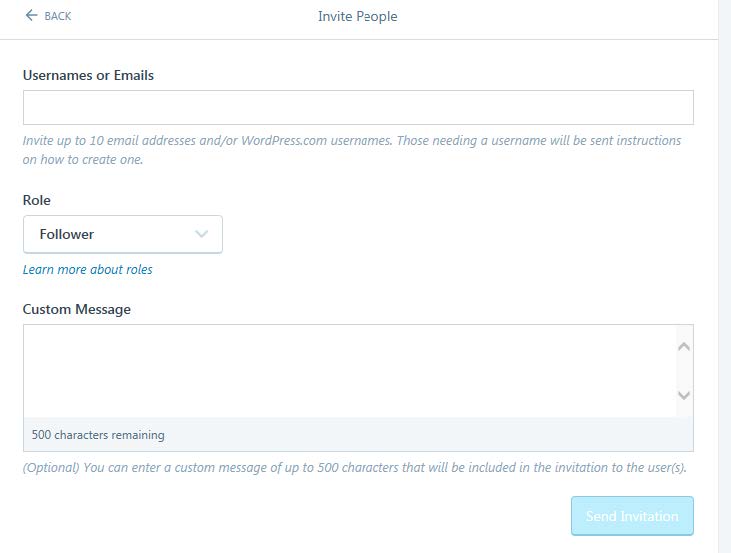
- Enter the email address of your lecturer, and give them a suitable role. Please speak to your lecturer for advice on this. Add a Custom Message, if required and select Send Invitation
Once you have got to grips with WordPress, then you can move on to customising the theme. We recommend this order, as some templates will alter the way menus work etc.
- From the My Site menu, click on the Themes button to select a new theme. You can filter by a Free theme.
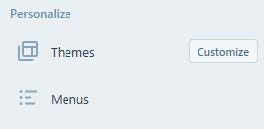
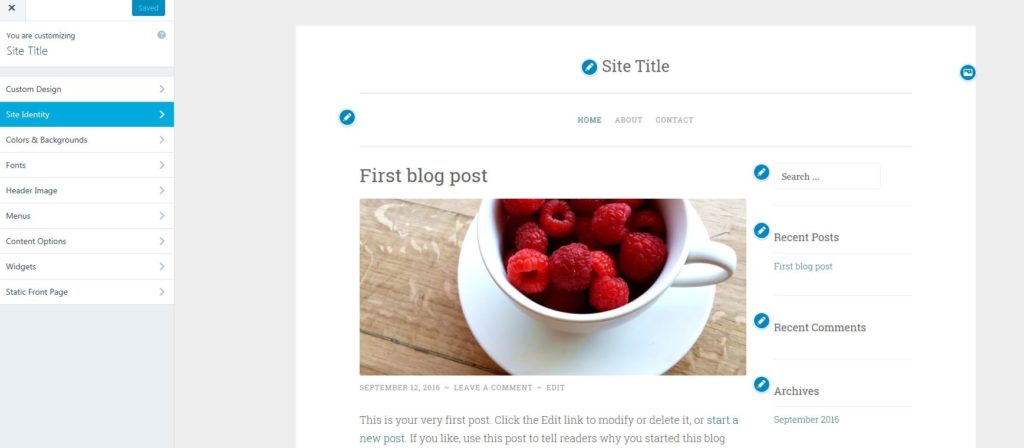
- Alternatively choose the Customize button, to customise and edit the current theme. A new menu will appear.
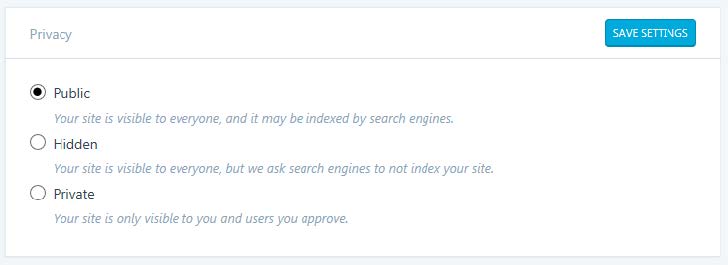
If the primary purpose of your blog, is to keep a reflective diary, then you may wish to alter the privacy of your site. By default your blog, is available to all. To alter the privacy:
- From the My Site menu, choose Settings
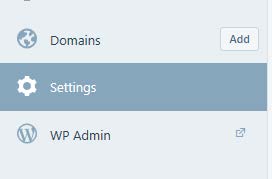
- Scroll down the Settings menu, to Privacy, choose the appropriate Privacy setting. Please note if you set the site to Private, then you will need to add each of the users to the site, as detailed earlier in adding a staff member to your blog.