
Once the ATLAS link has been added to Course Resources the next step is to set up a workspace. A workspace within ATLAS will be the space where students will need to submit and a place for you to manage student’s submissions, give feedback and grades.
Setting up Workspaces via Course Resources (Blackboard)
To create your Workspace
Click on the ATLAS icon that you have just set up within Course Resources (Blackboard). Within University, the pop up blocker may try and prevent this being opened. Wait one minute and then you’ll be able to click on ‘open in new window’

You’ll then be asked if you’d like to set up a brand new workspace. Keep this option selected and click on ‘continue’.
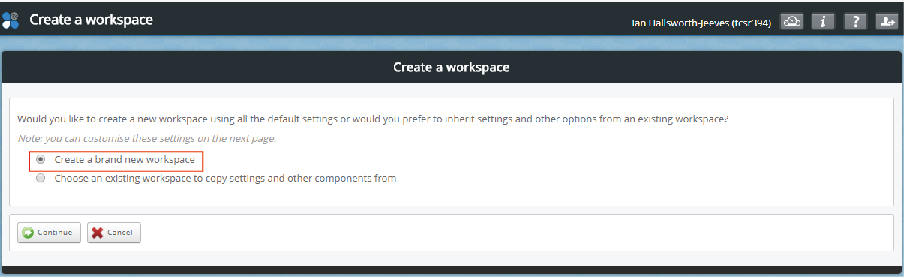
- Click ‘Continue’. The “Create a Workspace” page will appear
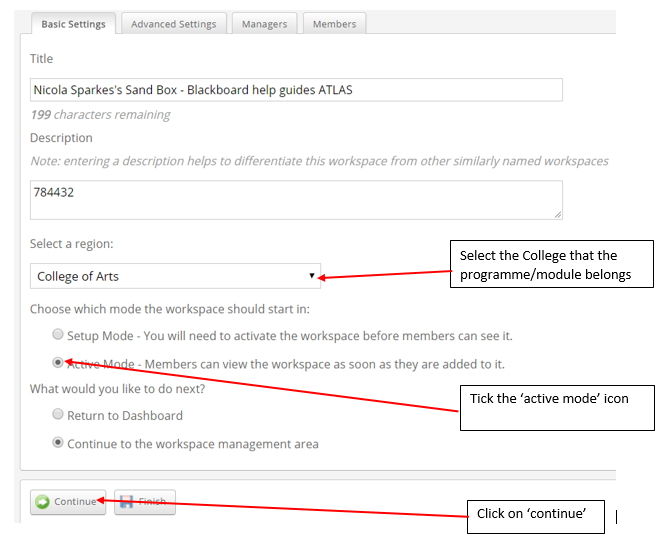
- The Workspace ‘Title’ will be the name of your module/programme. This is information is imported from Course Resources (Blackboard)
- The Description will be the module/programme code. This information is imported from Course Resources (Blackboard)
- You will need to Select a ‘Region’ for the course to be housed in (This will be academic college you are a member of’).
- You will need to click on ‘Active Mode’
- Click ‘Continue’.
You’ll then see the ‘Advanced Settings’ tab. Click on ‘continue’

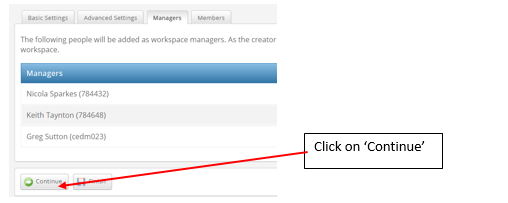
You’ll then see the ‘Managers’ tab. This will show you a list of the staff who are listed from Course Resources as ‘Module Tutors’. Click on ‘Continue’
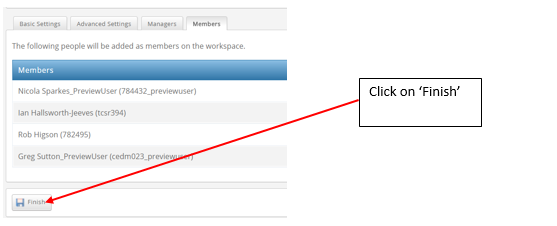
The ‘members’ tab will then display and list all of the students, this information has been imported from Course Resources. Click on ‘Finish’.
The Workspace is now created and you’ll be taken to the ATLAS workspace management area for your module/programme area.
Please note, the link in Course Resources (Blackboard) will not automatically bring in new users who have joined after the link to PebblePad has been created. In order to do this, you will have to click the ATLAS link again, which will synch the enrolments between Blackboard and the ATLAS Workspace.