
Templates allow you to create bespoke forms (Resources) that you can either fill in yourself, or share with others to use. Templates you create can be used in formal assessments using PebblePad ATLAS, and can be added to Workbooks.
To create a Template:
- Log into Pebble+.

- On any page, click the ‘burger’ menu on the top left of the screen
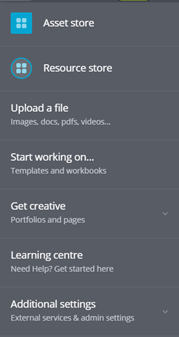
- Select ‘Get Creative’.
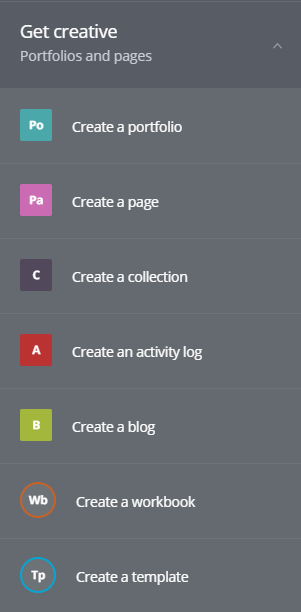
- Select ‘Create a Template’.
A blank Template will be launched.
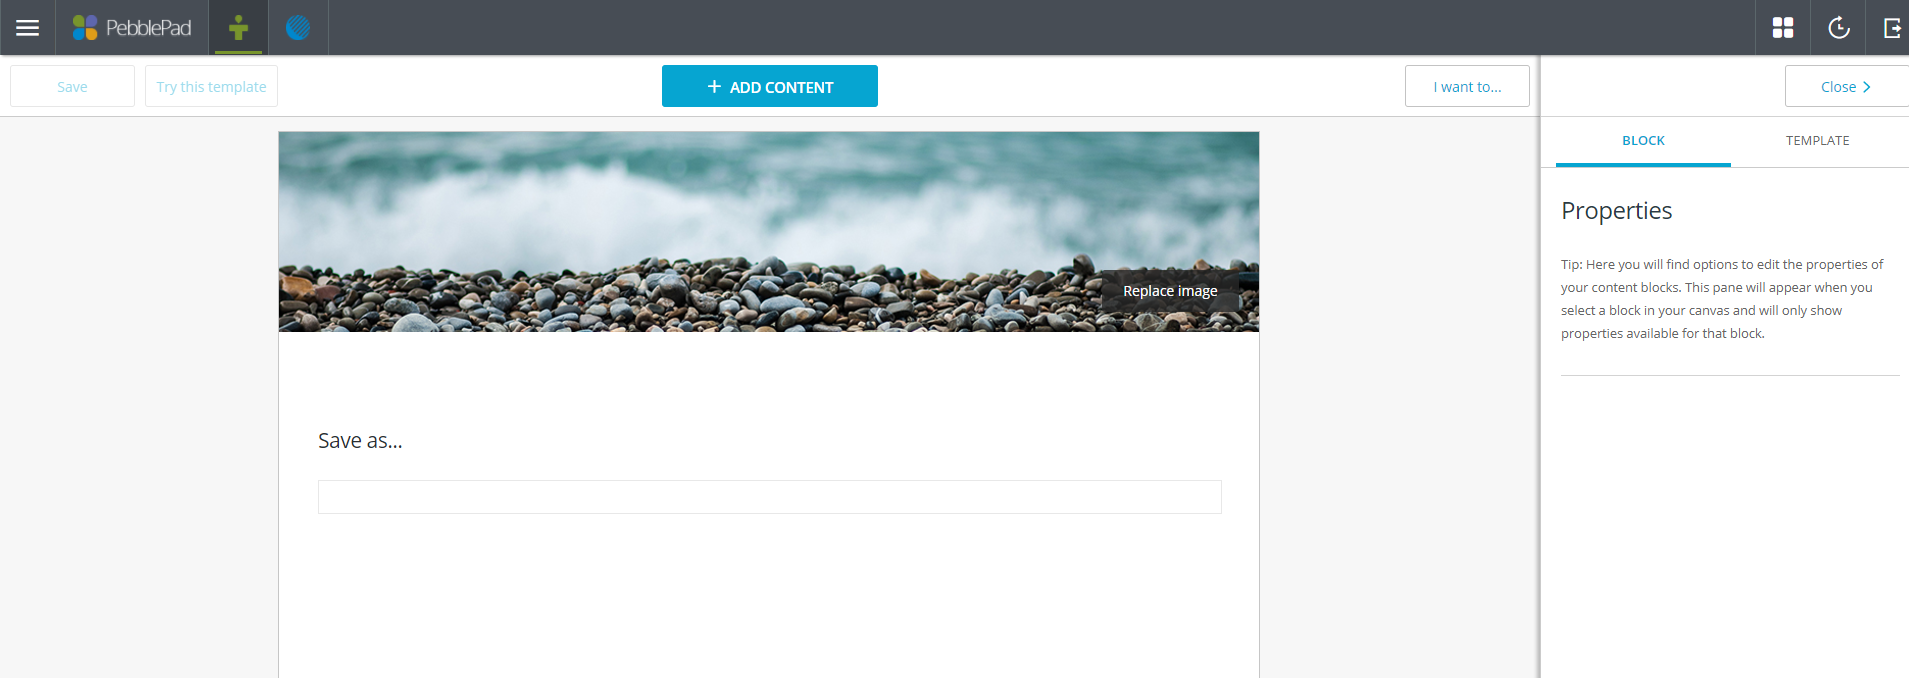
To change the banner image, click on ‘Replace Image’, and select either one of the preset image gallery or your own image from your Asset Store or hard-drive.
Adding content to your Template
You will now need to add elements to your Template. To do so, click ‘Add Content’. A number of element choices will appear, which are in the following sections:
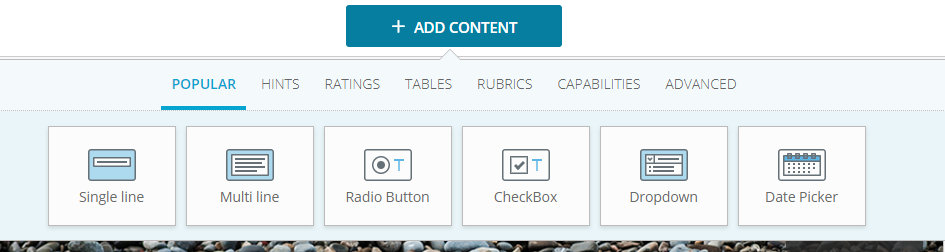
- Popular: These include common form items, including single line text, multi-line text, radio and checkbox options, drop-down menus and date pickers.
- Hints: These are expository elements that users can’t fill in, such as text, images, videos or audio. These should be used to guide your learners around your Template, or to add visual elements.
- Ratings: Elements for adding the opportunity to add rating scales.
- Tables: Allows tables to be inserted in various formats.
- Capabilities: Contains elements for adding capabilities and evidence.
- Advanced: contains an element for recording digital signatures, and a Media Picker to allow learners to add their own media elements (images, video, etc.) directly into the Template.
To move elements around, click and hold your mouse on the element. Once the element shrinks slightly, drag it to the desired part of the Template. This can be used to rearrange the order, or to place two elements side by side.
To delete an element, click on it to select it, and click the ‘X’ icon in the top right.
Properties
On the right hand side of the screen is the properties box. If this is minimised, click the ‘Properties’ button to expand the box.
This has two tabs, ‘Block’ and ‘Template’. ‘Block’ gives you options for the selected individual element in your Template, and ‘Template’ gives you options for the whole template.
‘Block’ options include whether the element has hints (instructional text within a text box to be typed over), has an evidence element attached to it, and privacy settings (including whether the element is to be filled in by an assessor, rather than the student).
‘Template’ options include the category of assets created by this Template (required), and whether learners can change the banner to their own image. ‘Usage’ options can also be found here, which are important if you are using the Template for assessment. The three options here are:
- Single use only – learners can only ever take one copy of this Template.
- Prompt before reuse – learners can take as many copies as they want, but are asked if they are sure they want to take multiple copies.
- Allow reuse without prompting – learners can take as many copies as they want, without any warning.
Saving and accessing your Template
Once you have added everything you want to your Template, click on the Save icon in the top left of the window.
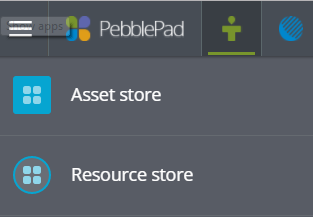
To access your Template, visit your Resource Store either by:
- On the dashboard (home page) click ‘Resource Store’ on the top left panel.
Or:
- From any page, click the ‘burger’ menu in the top left of the screen
- Select ‘Resource Store’.
- To view or edit the Template click on it in the list.