Background
Bookings is an Office365 business app that allows people to book appointments with you. You setup appointment types and the times when you are available. On the website you then give the booking form URL to your costumers/students they can then chose the time slot they want and it will put the appointment into your calendar.
Restrictions
This app is only available to academic staff and some student facing admin staff if you don’t see the Bookings logo in your office365 apps you can contact TEL@derby.ac.uk to request for it to be added to your account.
Bookings is a Business app so some of the features and terminology it not necessarily appropriate to education, this includes pricings for appointments and referring to students as customers.
Booking also assumes that you are available for the same time slots every working week.
Steps to creating a booking form
- Setup your business (Bookings assumes that you are a business)
- Business name (your name)
- Business type (Educational Research Institutes)
- Business hours (The times you are available for appointments with students)
- Create appointments types you can have more than one.
- Service name (name for the types of appointment)
- Description
- Duration
- Buffer times
- Custom fields (you can add questions to your booking form)
- Custom Scheduling Policy
- Create staff
- Add people (your name)
- Email address
- Phone number
- Email notification settings
- Link to your office calendar
- Set business hours (The times you are available for appointments with students)
- Adding other members of staff to your business
- Booking page
- Choose your colour theme
- Default Scheduling Policy
- Get your link or embed code
- Calendar
- See your appointments
- Set time off (Time when you are not available for appointments)
- Cancelling an appointment.
Setup your business
Bookings assumes that you are a business, to use booking you have to setup your appointments as a if you are providing business services.
Log in to Office365 and click on the Bookings logo

The first time you log into bookings this you will see an intro page, click on the Get it now button.

You will then be asked for business name and type. The business name will appear at the top of the booking form we suggest you use your name as the business name
For business type you have to choose from a list that appears as you start typing, “Educational Research Institutes” is probably the most appropriate option.
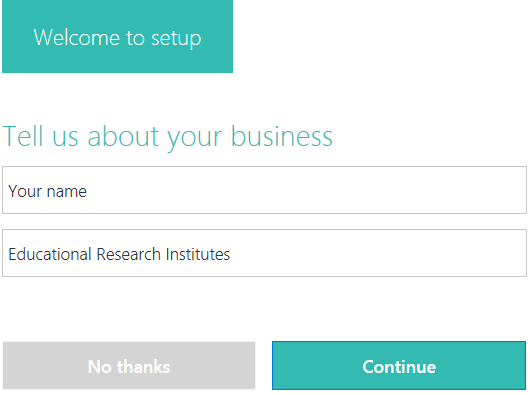
Then click continue you will have to wait for a moment while it sets up your business. When it is done you will be on the home page for your business.There are a numbers of help guides on the home page.
You then finish of setting up your business by clicking on the Business information button.![]()
You have to set your business hours. These are the hours when you are available for appointments
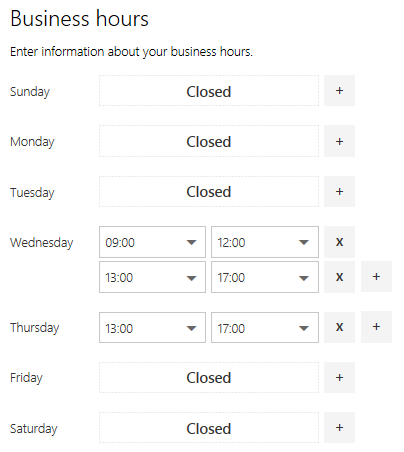
Enter the time for your time slots
You can add a new time slot for a day by clicking on the + button
You can delete a time slot by clicking on the X button
Optionally you can add an address (office number), Phone number and an image (picture of yourself) and some URLs
If you add a Privacy Policy customers will be asked to consent to it before booking.
Then click save to save the business information ![]()
Creating an appointment
Log in to Office365 and click on the Bookings logo
Adding an Service (appointment type)
Click on the Services tab ![]()
Click on add a service ![]()
Fill out the form.
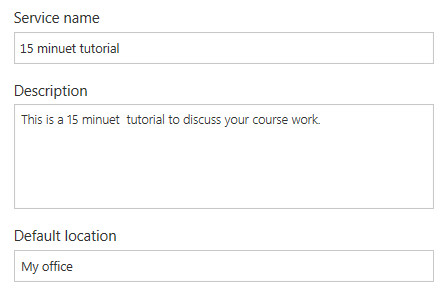
Add the name for the appointment type, a description of the appointment type and location
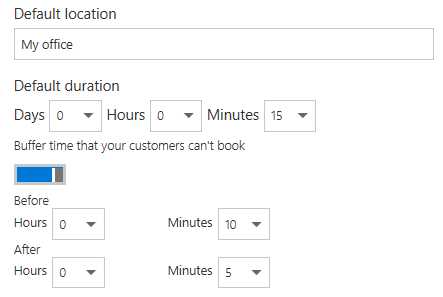
Add the duration and optionally buffer times. You can have a buffer time before the appointment for preparation and traveling to the location, and a buffer time after the appointment to write up your notes on the appointment.
Leave the price as “Price not set”
You can add custom fields to your booking form so you can ask students what the appointments is for.
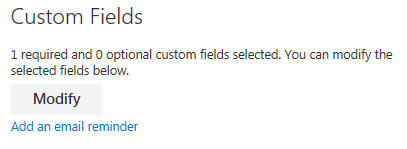
Make the appointment type available to your costumers/students with the publishing options

You can also set custom Scheduling options by unchecking the Use the Default Scheduling Policy box.

Look at the booking page help to see how to set a Scheduling policy.
You also need to assign staff to this type of service. To begin with you will only have yourself in your staff list click on your name so that it is ticked.

Then click save to save the service ![]()
Create staff
The staff tab is where you set up your personal setting and attached the Bookings calendar to your Outlook calendar
Click on the staff tab. ![]()
To edit you person setting hover over your name and click on the pen icon
![]()
Here you can set your personal email address and phone number. This should still be your university email address and phone number
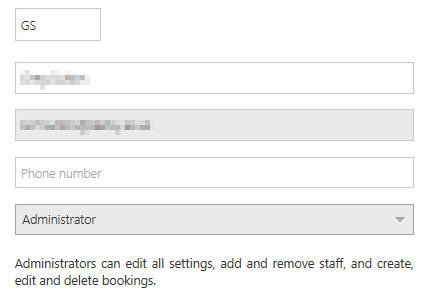
You can choose if you want to get an email notification when an appointment is booked

You can choose is you want to time slots to be removed from the booking form if you have something then in you outlook calendar.
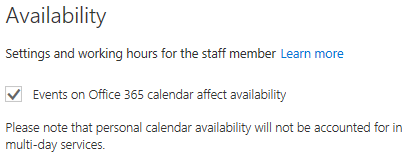
You can set your personal hours if they are different to the businesses hours. This is only needed if there is more than one member of staff in the business. You do this by unchecking “Use Business hours”
Then click save to save your person settings ![]()
Adding other members of staff to your business
You can add other members of staff to your business. If you are working in a team and splitting session with another members of staff you can use the same booking page. Click on the staff tab
Click on the staff tab. ![]()
Click on add staff ![]()
Start typing in the Add People box and a list of members of staff will appear. Choose somebody from the list.
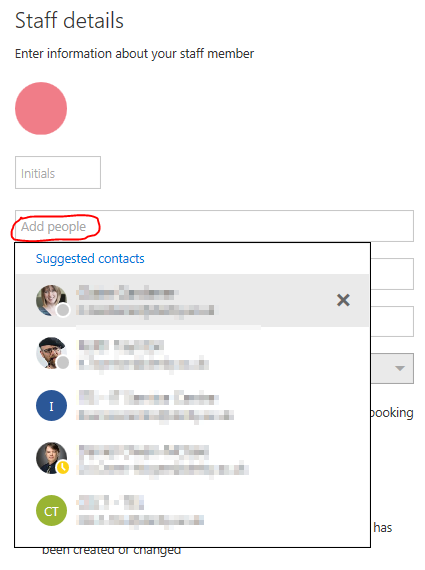
You can them edit their setting as above in the same way as you set your own setting
Booking page
The Booking page is where you control the look of the booking form and where you publish it from
Click on the Booking Page tab ![]()
You can add a personal data collection consent toggle and a message to go with it.
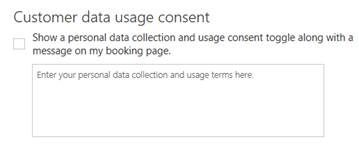
The massage will be the only text next the toggle button in the booking form. If a student doesn’t tick the toggle they will get a message “Consent to book” so the message should indicate that this is the consent toggle.
Scheduling Policy
You can set your default scheduling policy on the Booking page. Each service can have its’ own scheduling policy.
Set the time increment for the time slots you have available. This will determine the numbers of slots you have available. If a service is longer than a time slot then multiple time slots will be used up when an appointment is made.

Set the minimum and maximum lead times. This can prevent students form booking appointments at the last minute. And also prevent them from booking an appointment in the distant future. If your hours are going to be different every week then set the maximum lead time to no more than 7 days and keep your available timeslots up to date every day.

You can chose to get an email sent to the business email address every time someone an appointment. If you are the only person in the business you will get a personal email anyway.

You can allow customer to choose which staff member they get. This is only for when you have more than one person in the business.

You can chose your colour theme and to add your business logo to the booking page.
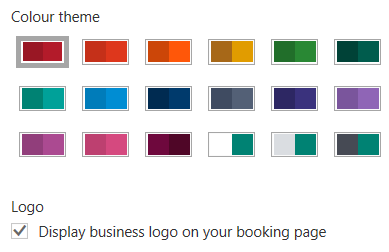
You can also set your regional setting

When you are happy with the page setting you can publish your booking form by clicking on save and publish ![]()
When you do the panel at the top of the page will change. You can then get the URL for the page. You can also share it on Facebook or Twitter and by email.
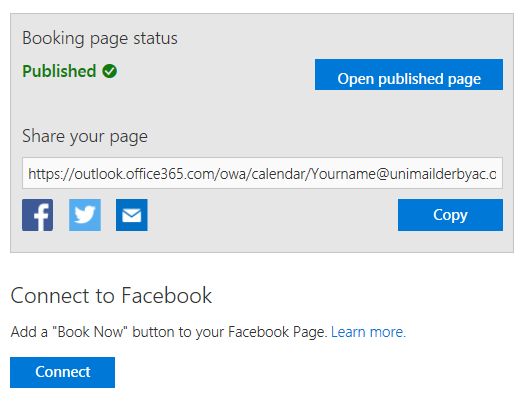
Click on copy to add the URL to your paste buffer.
You can also get embed code by clicking on Embed
![]()
To unpublish the page click on Unpublish
![]()
Calendar
The Calendar in bookings shows all your business appointments even those allocated to other members of staff.
It doesn’t show you all the other appointments from your office calendar but all your appointments form the business calendar will be added to your office calendar.
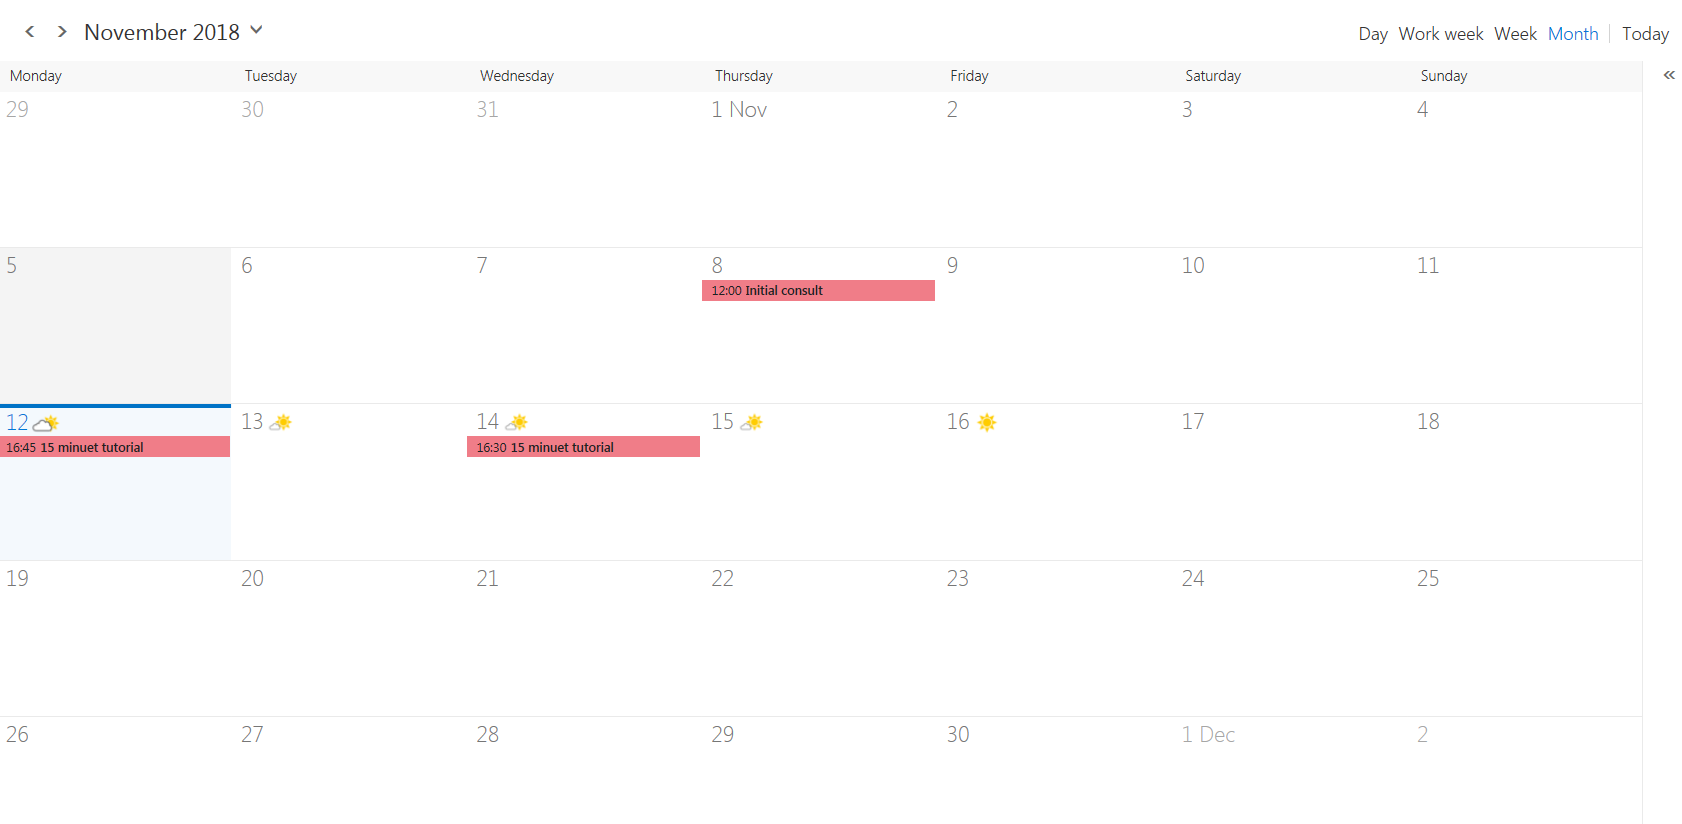
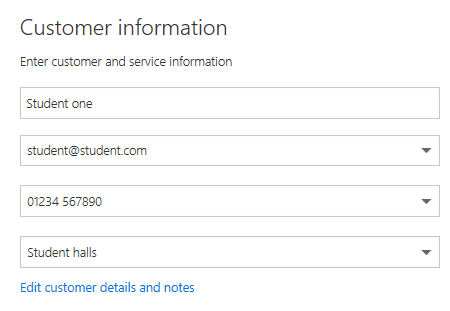
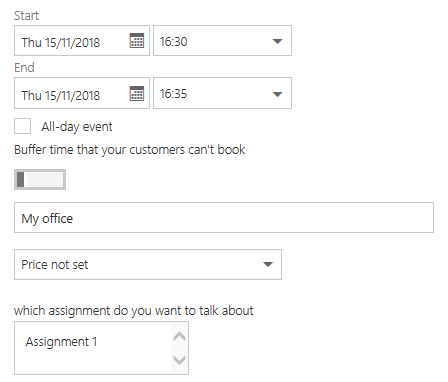
Clicking on the appointment in the calendar opens up the appointment and shows you who the appointment it is with and the shows that answers to the question asked for in the booking form.
Booking time off
You can add time of to your business calendar. This remove all the time slots for appointments during you leave. It also adds the time off to your office calendar.
To book time of click on the time off button ![]()
Enter the dates of the leave and choose who it applies to.
If they are not full days off then uncheck the All-Day Event option and enter times
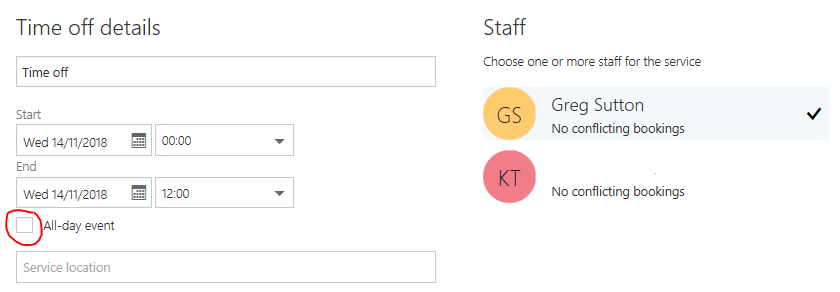
Then click save to save the leave
Cancel a Booking
To cancel a booking click on the booking to open it.
Then click on Cancel Booking ![]()
You will get a popup window where you can enter a message to the customer about the cancelation.
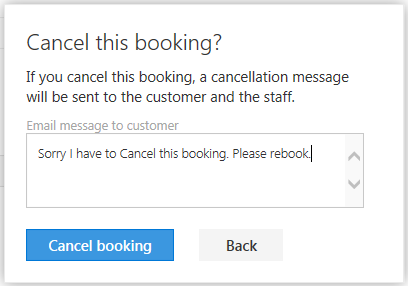
When you have entered your message click on Cancel booking and the booking will be removed from the business calendar and your office calendar.
